Published by Jeremy. Last Updated on January 25, 2023.
Disclaimers: Our site uses demographic data, email opt-ins, display advertising, and affiliate links. Please check out our Terms and Conditions for more information. Listed prices and attraction details may have changed since our visit and initial publication.
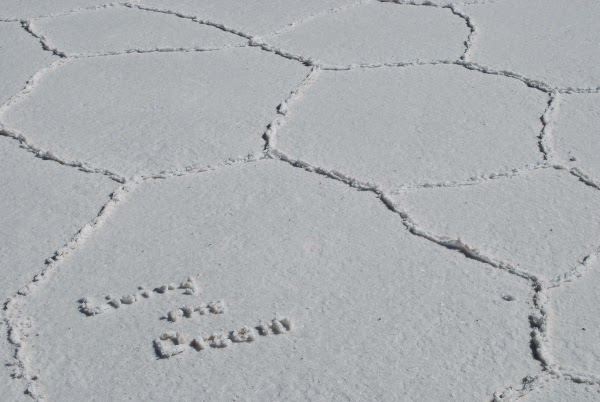
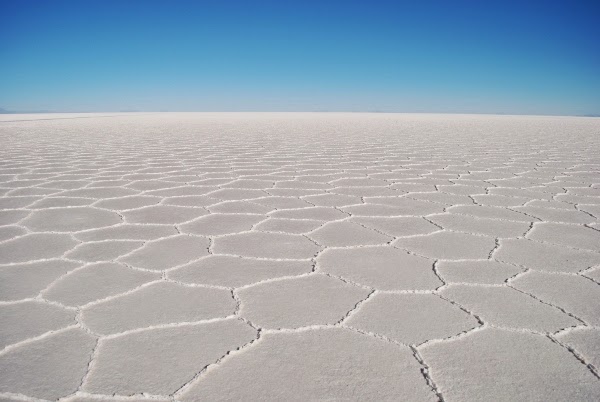
Finally, we made it to the world’s largest salt flats- the Uyuni Salt Flats in Bolivia! Our excitement could not be contained as we watched the sun rise over the vast plain of salt that is almost as large as some small European countries.
With only a few mountains off in the distance, and an endless field of salt at our feet, we finally understood why the Uyuni salt flats draws in so many visitors each year.
It is unlike any place we’ve ever visited.
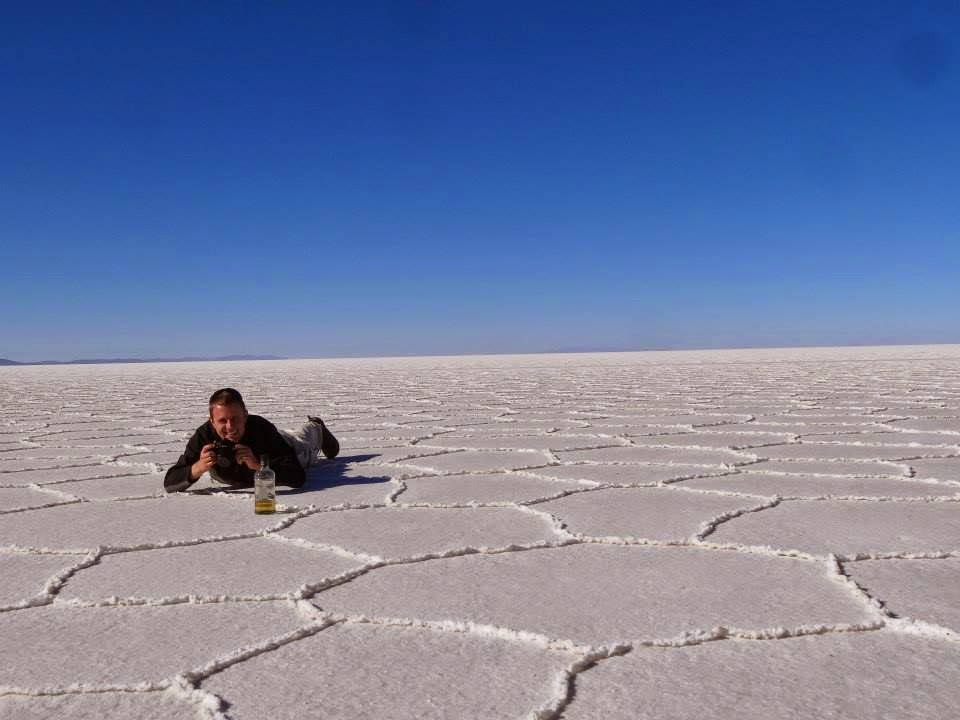
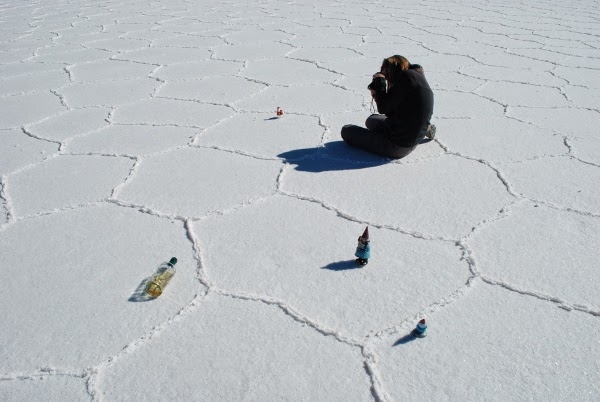
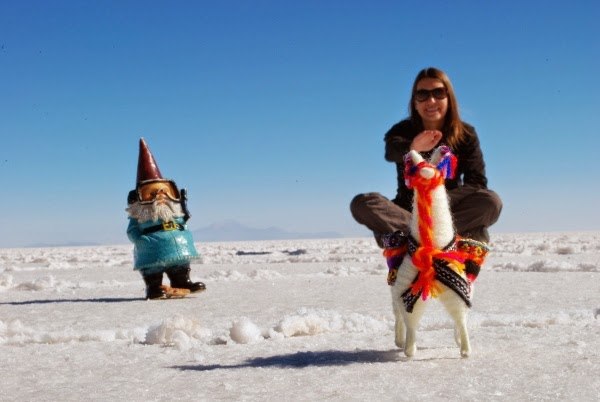
Armed with our two Roaming Gnomes, a toy llama, and a bottle of Pisco, we were quite excited to get out into the middle of it all and take some hilarious forced perspective photos.
After starting, we quickly noticed an issue. Our photos were awful!
The clock was ticking on our time in the salt flats, and we had to figure out a solution fast.
✈️ Book Your Next Trip
- • Planning a trip? Find a flight deal.
- • In need of a room? Check out hotel and apartment prices.
- • Taking a cruise? Find a cruise itinerary for your journey.
- • Don't overlook picking up a rental car or day tours as well!
Perspective Is Hard!
The problem with perspective photos is that the smaller the object is, the worse your photo is going to turn out. Until we arrived at the salt flats we did not know this.
Why is that? Well, there are two reasons.
The first is that for smaller objects the photographer must get incredibly close (within inches) to make the perspective work if the secondary object is quite large.
The second is that when this happens, your camera will have a narrow field of focus and will likely default to settings that result in background blur.
This looks great when you’re doing macro images and portraits, but when you’re trying to do perspective shots you want everything to be in focus!
As it turns out, getting your camera to do that is very tricky.
The Settings That Work
My first thought was to increase my f-stop as high as possible under aperture control (A) to limit the amount of light that enters the camera. In normal conditions, this setting will produce scenes where the entire vista is in focus (but require longer exposure times).
Unfortunately, we quickly found out that the salt flats are so amazingly bright, and we were so incredibly close to object, that even at our highest f-stop we’d be getting images with a blurred background.
The problem here was that even at our highest f-stop, the shutter speed was still too fast to make much of a difference at the distances we were shooting at (1/200 seconds).
Switching over to shutter priority control (S) let us drop the speed down to 1/30 to 1/50 seconds, but the images ended up being incredibly over exposed. The salt was white, but so was everything else!
Clearly neither of those settings worked.
Ultimately, we got our best photos by manually adjusting the exposure compensation (often labeled “+/-“) to -3 to -4. This compensated nicely for the overly bright images at 1/30 to 1/50 second shutter speeds, and produced images that were, for the most part, in focus.
The problem we ran into at running at these speeds was that our camera shook much more than in normal conditions since we were shooting at some incredibly odd angles as you can tell from the above photos.
We had to take most images several times to get a very crisp photo (which is common at 1/30 second speeds).
This is a minor detail for most, so we’re only noting it for the die-hards who demand perfection.
What If You Don’t Have Manual Control?
What if you don’t have a camera that will let you do all of these manual adjustments? Do you have to sit back and let perspective photos pass you by while in the salt flats?
No, there are other ways.
Our recommendations above were for taking photos of small objects (no larger than your hand) with a human in the background.
To get around that, try and make both objects as large as possible!
As the object in the foreground gets larger and larger, the ability for the background to be in focus increases substantially since you will not need to be right next to the item when taking the photo.
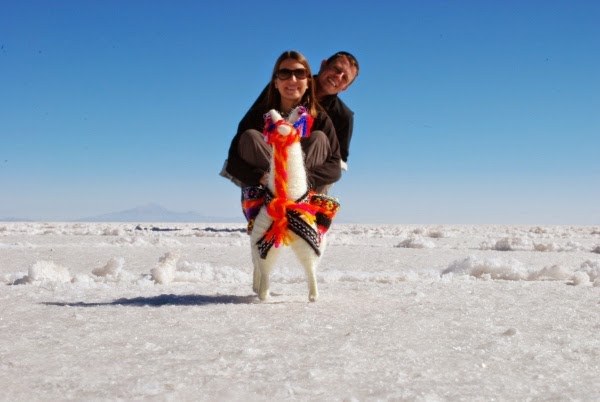
So when doing perspective photos with two people, you may get by without doing any setting changes at all as long as you do not make the one in the distance too small. (Admittedly, we did use the same settings outlined above when doing photos with two people with good results as well).
The One Key Takeaway
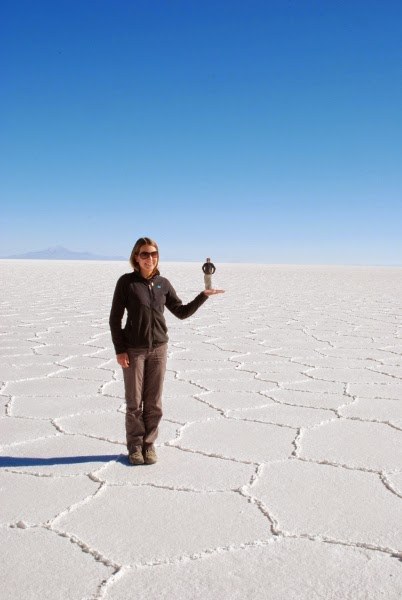
If there is one additional point we can add to getting the best perspective photos in the Uyuni salt flats, it would be this: watch the ground.
Forced perspective works best when the object in the distance appears to not be touching the ground and is instead on-top of the object in the foreground. Any gap between the distant object and the object closer to the camera and you’ll capture some of the salt, ruining the perspective in the image to a degree.
Although you can get great photos that play on sizes like when dinosaur’s attack a group of people, or our personal favorite of people exiting a Pringle’s cup, the best illusion occurs when the ground is not seen as shadows and other distance cues are hidden away.
When coming up with ideas for perspective photos in the salt flats, try and think of scenes that would involve the distant object to be on top of the closer one with as much available space as possible. (i.e. someone standing on another person’s lap rather than in their hand).
This increase in area drastically increases your ability to get good photos without multiple tries, and is incredibly worthwhile if you are in a group that, unfortunately, has no idea what they’re doing!
Heading to the Uyuni Salt Flats soon? Check out the hotel, Jardines de Uyuni, where we stayed at after our salt flat tour! Looking for more things to do in Bolivia? Why not head to the north and check out Lake Titicaca!
About Jeremy
About the Author: Jeremy is a full-time travel writer based in Pittsburgh and primary author of this site. He has been to 70+ countries on five continents and seeks out new food, adventure activities, and off-the-beaten-path experiences wherever he travels.

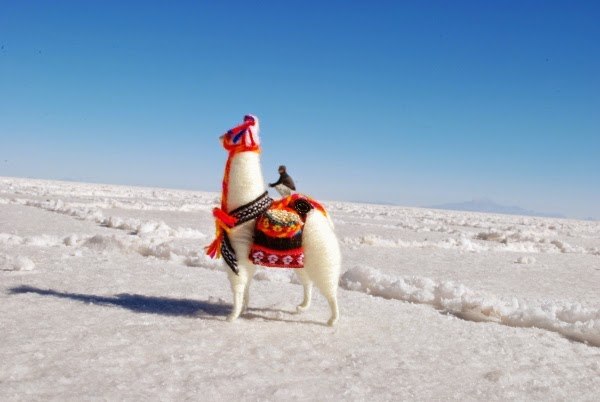
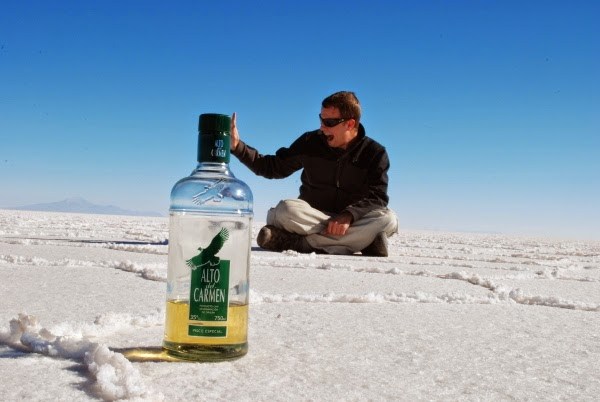
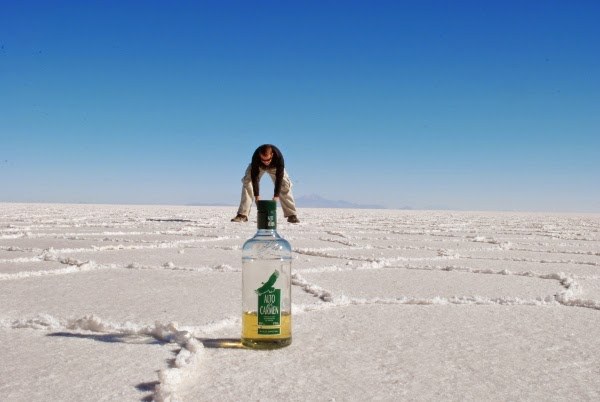
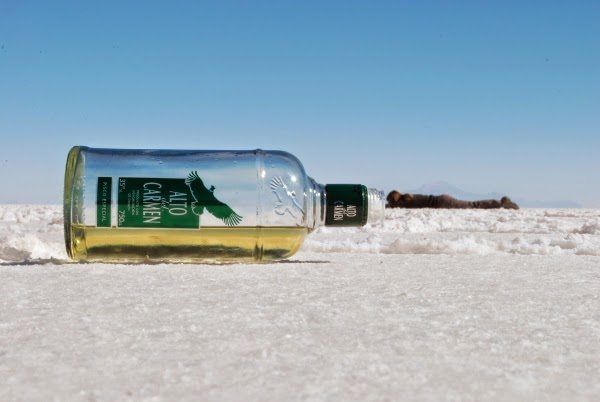
To get the perspective photos on the salt flats, how far away did you have to be?
For example: the photo where he is standing in her hand.
How far back was he from her?
I’d say the photographer to Angie was 5-6 feet away (standard distance). I was probably 30 feet away or more to look so small.
Beautiful scenary indeed.
I notice there in water covering the salt flat. Is it the dry season or flooding is a rare event at all ?
There is a rainy season and dry season at the salt flats. We went right at the beginning of the dry season and everything was dry for miles. If you go in the wet season there is a thin layer of water on the surface that makes for great reflective photos. I’d love to go back and do a trip to the salt flats at this time too. You’d have to research it before going, however, as I think the tours through the region may be limited (word of mouth there, not from research).
Tahnk you for reply. Just 1 more question for better clariffication – if I refer to the post date (01st may 2014) that means that you have been there in mid or late April, right?
I already subscribed for your RWT web – site. Thanks.
For me in brief – I’m from Bulgaria (thank you for the articles), cannot afford long holidays and RWT, but consider launching my own travel blog or internet site in near future.
Best regards
Really helpful article guys! Wish I had read it before our Salt Flats trip…taking perspective photos was a lot harder than we thought it would be. Great to know for next time
Ha! I love these types of shots. Thanks for the good advice – bookmarking. Totally forgot to do this when I went to the Bonneville Salt Flats in 2012.