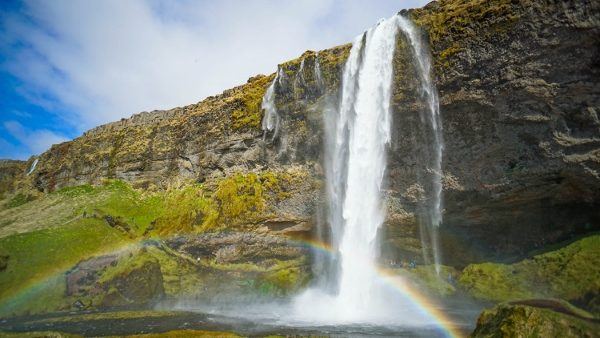
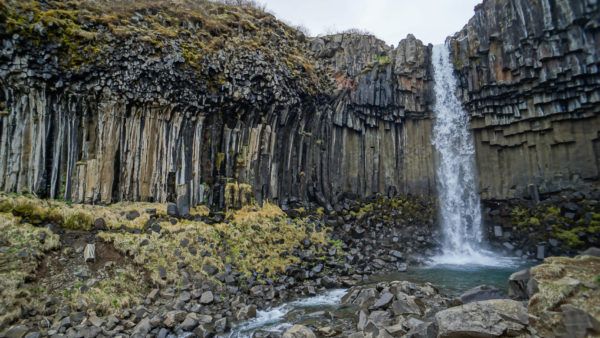
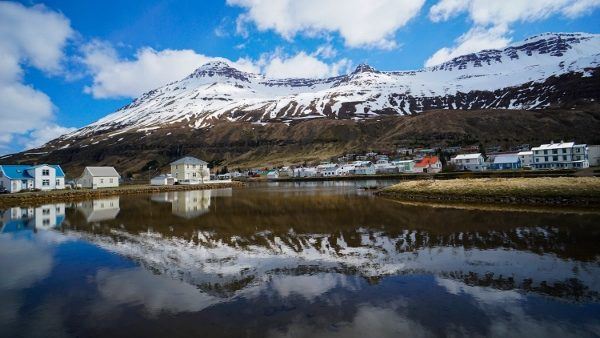
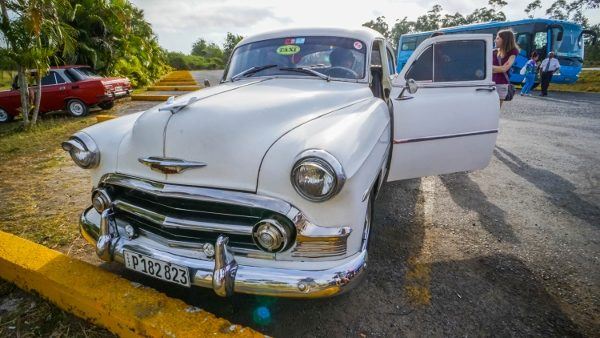
Published by Jeremy. Last Updated on July 16, 2025.
Disclaimers: Our site uses demographic data, email opt-ins, display advertising, and affiliate links. Please check out our Terms and Conditions for more information. Listed prices and attraction details may have changed since our visit and initial publication.
2018 marks the ten year anniversary of my first international trip (solo at least). This whirlwind tour of Europe was my college graduation present to myself and, unbeknownst to me at the time, would spark my wanderlust and put me on a path to become a travel writer, blogger, and professional photographer.
Since that fateful journey I’ve explored over 70 countries, on five continents, totaling over two solid years on the road, and shot well over 200,000 photos of the world’s beauty along the way.
When looking back at my photos (something I do quite often), I’ve noticed an interesting evolution in my becoming a photographer.
From the style and composition, to the equipment I use and other post-processing techniques picked up along the way, my photography journey has been one that has only gotten better with age.
Today I wanted to share a glimpse into my journey over the last ten years as a travel photographer and the most important lessons I’ve learned along the way.
✈️ Book Your Next Trip
- • Planning a trip? Find a flight deal.
- • In need of a room? Check out hotel and apartment prices.
- • Taking a cruise? Find a cruise itinerary for your journey.
- • Don't overlook picking up a rental car or day tours as well!
Year 1 – 2008-2009 – Europe
My first trip was a whirlwind tour of 10 countries around Europe. I was rocking a mid-tier point and shoot camera, never took photography very seriously before that, and still had a disposable film camera in my bag as backup.
Cue the collective cringing.
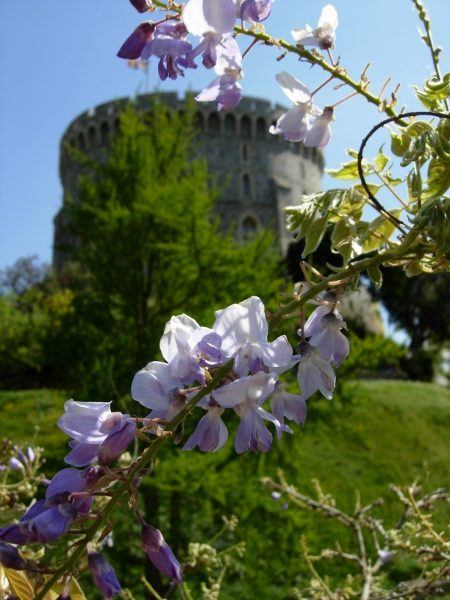
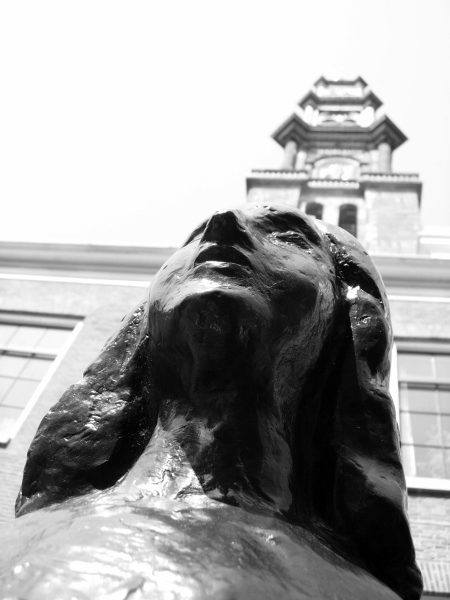
Up until this point, it wouldn’t be a stretch to say that all I ever did with a camera was pick it up, hold it at eye level, shoot straight forward, and hope for the best. The beauty of Europe changed that, and I started exploring different angles to get my shots framed up properly.
The above photo of Anne Frank is one that really drove home my first lesson. Taking the photo straight on and in color wouldn’t do the history justice, but the angle certainly adds a lot of depth to the somber location.
Lessons Learned: Angles matter. Go high, low, left, right, forward, and backward to capture your scene.
Year 2 – 2009-2010 – Egypt and Jordan
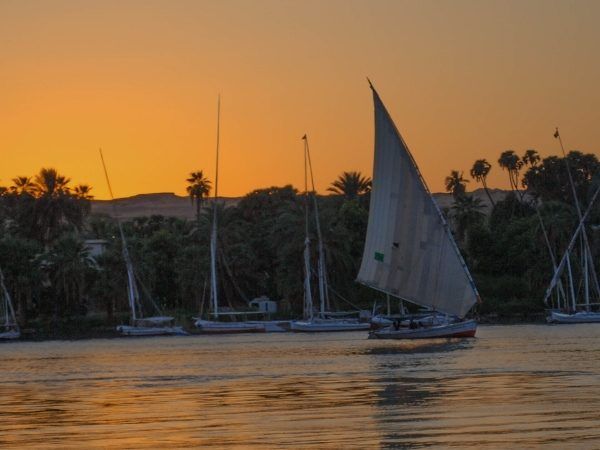
My second trip was a shorter two-week journey to Egypt and Jordan. My graduate school schedule only allowed me to go during mid-August, which coincides with record high temperatures year in and year out.
To put it simply, exploration and exhaustion go hand and hand at these temperatures, and at many times taking photos was the last thing on my mind (including dealing with borderline heat stroke one day in Cairo). Here, I focused more on the availability of digital to take a ton of photos in rapid succession and hoped that a few turned out good in the end.
They did.
The frequency of my shooting imparted an important lesson in that the act of taking good photos is not only putting yourself in the right place at the right time, but also taking many shots to try and capture the scene in question.
Lessons Learned: You will miss 100% of shots you don’t try to take, so take plenty. If they end up horrible, you are no worse for wear in the digital age!
Year 3 – 2010-2011 – East Asia
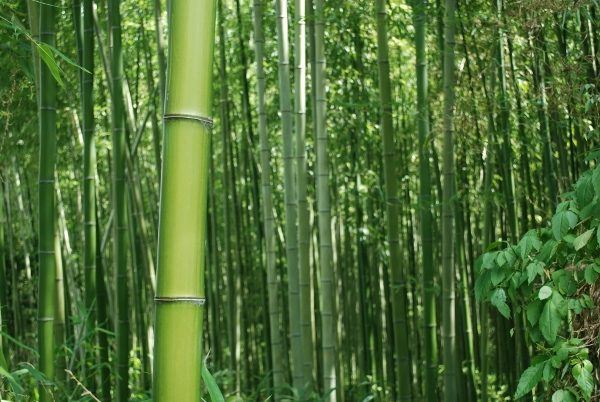
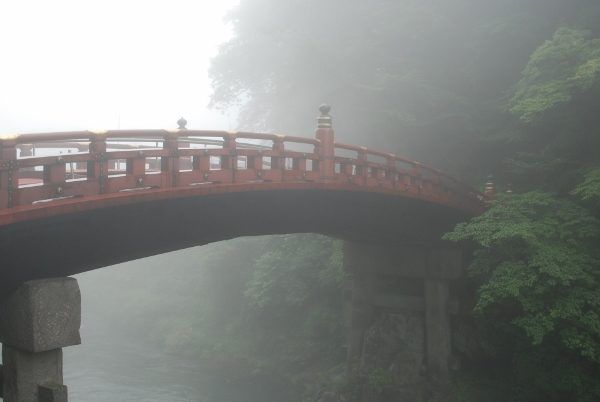
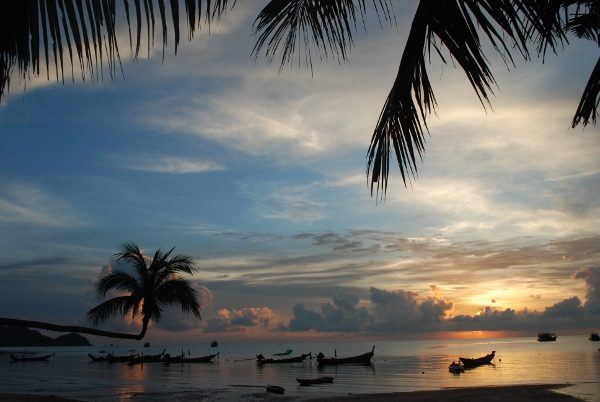
My third year of travel photography also coincided with my first long-term trip- a five month adventure in East Asia that saw me travel mostly overland from Japan to Singapore.
One thing I tried to get better at was taking out various lenses when shooting with my SLR (or taking out my underwater camera when the SLR wouldn’t do).
What I ultimately found out was that I really loved wide angle, nature shots and that I did not take out my 55mm-200mm telephoto lens at all throughout the journey.
It was just dead weight in my bag!
Lessons Learned: Having good equipment is great, but having the right equipment for your style is better.
Year 4 – 2011-2012 – Las Vegas
My fourth year of travel photography was also the lightest as I returned from my first long-term trip, began planning the second one, and put all my money to that fund.
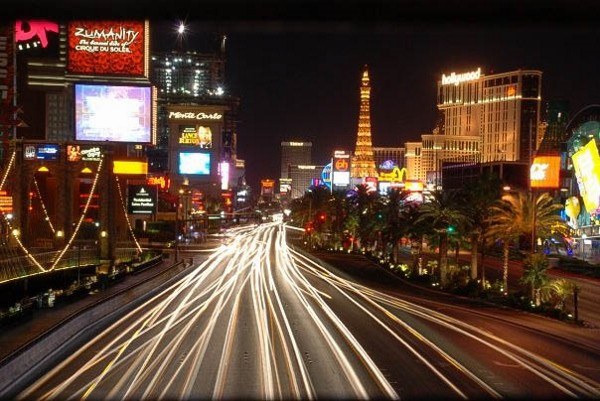
That didn’t stop me from going to Las Vegas with Angie for a quick weekend trip to celebrate a job offer, and there I started to play around with long exposure shootings with my tripod. Here I learned that you can use light to your advantage when shooting photos.
Lessons Learned: Lighting can be bent to your will as your camera’s “eye” can see vastly different scenarios than your own, so get a tripod!
Year 5 – 2012-2013 – Spain
My fifth year of traveling coincided with our honeymoon, so I was much more laid back in my photography approach (I was there to enjoy my honeymoon, after all).
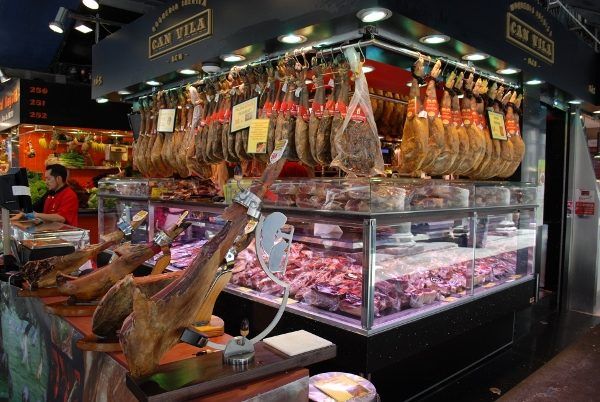
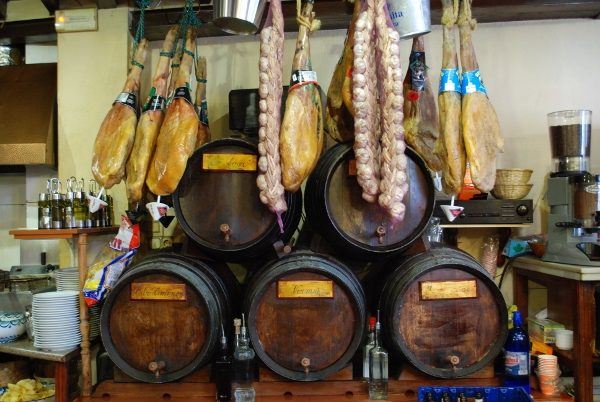
Spain is the kind of place where there is something charming at every turn, so much so that I could’ve taken dozens of shots in one small restaurant on its own.
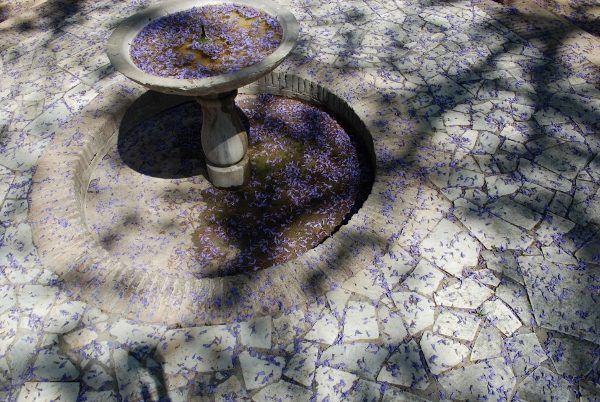
As I was grappling with my desire to shoot less for the honeymoon and still capture good images, I worked a lot on the composition of my photos- especially when there were ample angles to choose from!
Lessons Learned: Focal points matter. It is easy to have far too much going on in a scene, but it is far more difficult to get just one to shine. Practice doing just that!
Year 6 – 2013-2014 – Europe and Asia
My sixth year of shooting travel photos coincided with my second long-term trip (Angie’s first), and took us to many destinations around Europe and central Asia.
This year we both started shooting in semi-manual mode on our SLR (mainly shutter priority) as well as using some presets in our point and shoot cameras. This allowed us to add a sense of vibrancy in some images (above) as well as capture subtle lighting differences (below) that we were not that great at highlighting before.
Lessons Learned: Your camera is far more powerful than what automatic mode allows. Learn how to harness it.
Year 7 – 2014-2015 – South America
My seventh year of taking travel photography was a continuation of the year+ long trip we began the prior year, and was mostly spent in South America. Here, disaster struck. My backpack got stolen in Peru along with my SLR, computer, passports, and more!
I thankfully had many of my images backed up online and could recover my high resolution copies, but I lost several weeks worth of high res photos from Bolivia, Easter Island, and parts of Chile (as well as all of our trip videos). Angie still had her shots, but I have to deal with low resolution copies of my own from now on.
Lessons Learned: Backing up photos is incredibly important as you never know when someone will run off with your gear. Store locally, store on an independent hard drive in a separate bag, and store on the cloud with services like Carbonite (which we use on all our devices now).
Year 8 – 2015-2016 – Iceland
By the time year eight rolled around we had retired many of our cameras used in our long-term trip (and replaced the one that was stolen).
We upgraded to mirrorless technology which had the same internal programming of point and shoots but the ability to shoot great photos manually like an SLR- perfect to play with in Iceland!
Here we ditched the automatic presets altogether and learned our way around Lightroom to do true post-processing of the scenes to make them look like what we saw with our own two eyes.
While we will still go on record about the merits of internal processing in point and shoot cameras, nothing beats bringing out the subtle colors with Lightroom. If you want to fix some of the issues your camera doesn’t adjust on its own (shadows, minor warmth shifts, etc) and get an image that is as true as it can be, editing is a must.
Lessons Learned: Lightroom is your friend, even if just to fix color imbalances produced by your camera. It may take an average shot and turn it into something wonderful!
Year 9 – 2016-2017 – Cuba and Morocco
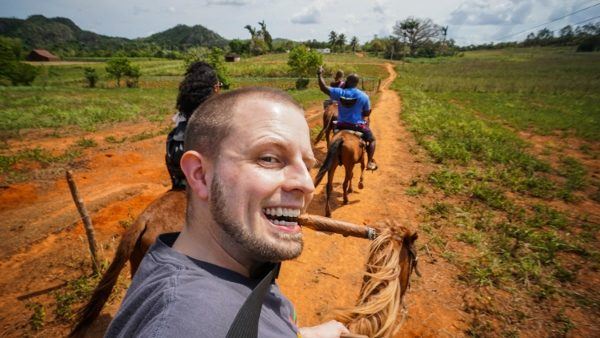
My ninth year as a travel photographer took us to some more off-the-beaten-path destinations- Cuba and Morocco!
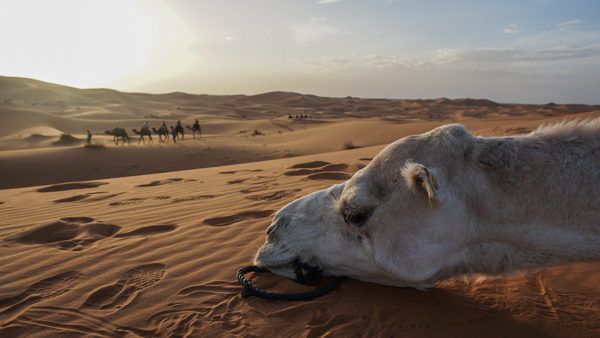
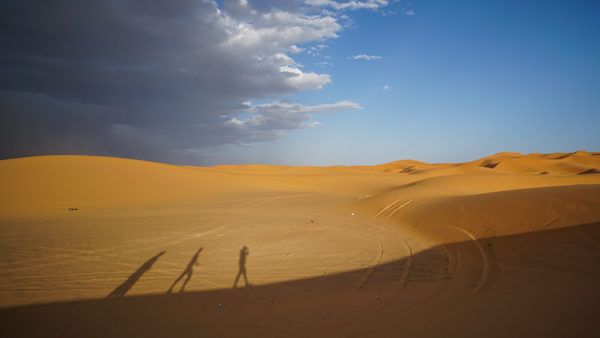
Cuba was a short five-day trip, and Morocco was a ten-day trip we took with a friend. Much like our trip to Spain in year five, where I adopted a less is more mentality and made an attempt to get the focal point on the first shot, I took that to the extreme on these trips.
In fact, for traveling for fifteen days I probably shot the least amount of photos I’ve ever taken abroad, and that is almost all because we had such limited time to take it all in.
This would not have happened if I had not had all the lessons of the previous years, as it is not so much a case of less is more but rather doing more with less.
This is where I finally felt like a true travel photographer.
Lessons Learned: Fewer shots can be better- once you know what to look for that is.
Year 10 – 2017-2018 – Seychelles
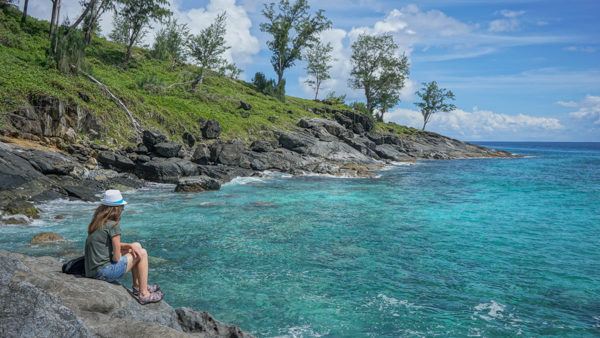
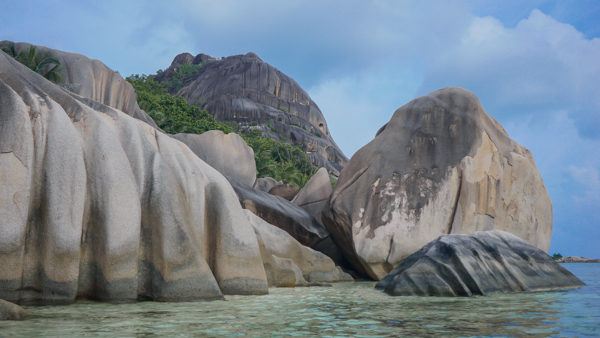
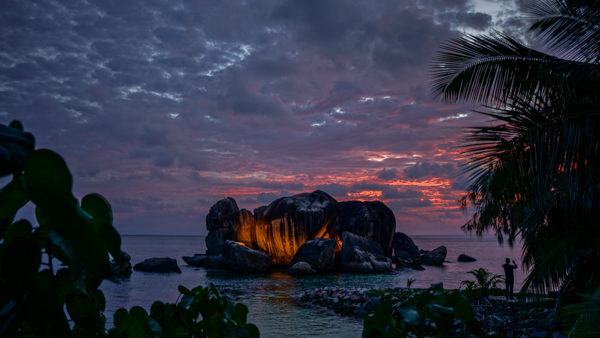
Finally, we come to year ten and a two-week dream trip to the Seychelles (nearly all paid on points)!
I had a dream of using this trip as a means to incorporate all the lessons I’ve learned taking photos and to put them far and wide to showcase the beauty of such a tropical destination.
We even worked out to get nice shots of us in them as well (something we rarely do, especially in swimsuits).
But then we arrived and that all went out the window. I saw people going nuts with photos, taking the glamour selfies on the world class beaches over and over again, and posting them left and right on Instagram.
I quickly realized (or remembered, perhaps) that our ambitious goal was not for me (especially the swimsuit shots), and I reverted back to where I was when I started: a simple travel photographer who travels first, takes photos second, and shares some of them later on.
Lessons Learned: Becoming Insta-famous is overrated. Shoot for yourself first and foremost.
My Biggest Lesson in 10 Years of Travel Photography
To conclude this post I want to highlight something I’ve learned over the last decade when it comes to snapping photos on the road, and that is I am a lazy photographer.
While this is a surprise to no one, what I find interesting is the influence it has on how I shoot and produce (a lot of this was alluded to above).
If I am to be honest, I have to say it is a chore for me to take out more than one lens at a time. I hate lugging my Tripod anywhere, even for night shots. My 360 camera is great in theory but it is also time consuming to set up, sync to my phone, and shoot (thankfully, Angie does that one). I would like to get a ten-stop filter or a drone, but probably would rarely use them as well (I’ve yet to touch my six-stop filter that I do own). And don’t get me started on producing video.
I see other photographers who carry backpacks full of gear everywhere they go, swapping out lenses in every scene, spending a lot of time waiting for lighting for one specific shot, and even more time editing on the back-end, and I laugh to myself. Not because I don’t think they’ll end up with a great shot (they will), but rather because it is the exact opposite of how I approach photography.
I commit to how I want to shoot in any given outing, pick one device or lens before I go out, and capture what I can from there.
Sometimes they’re great. Other times they’re not. And in many cases my photos could be significantly better as a whole if I lugged my whole kit and changed it up on the fly. But at the same time there is one more important lesson I’ve learned about travel photography that I have yet to share, and it is simply this: travel comes first.
Good gear, a knowledge of photography techniques (both in-camera to get out of auto and post-processing), and tens of thousands of practice photos are all you really need to become proficient in travel photography.
The more you shoot, the better you’ll become, and you’ll be able to capture great photos on the first try far more frequently. This means less time looking at the world through a lens and spending more time actually enjoying it with your own two eyes.
When it comes to my evolution as a travel photographer, I think this has been my most important lesson yet.
A Brief Summary of My Photography Setup at Year 10
After sharing the breakdown of my photography history, you may be wondering about the kind of gear I shoot with presently.
Over the last 10 years I’ve worked my way through well over $5,000 of cameras and lenses that were either retired, broke, or even stolen.
I started my photography journey with a simple Nikon P4 point and shoot camera (one of the finest cameras for its day), upgraded to a Nikon D80 SLR, later upgraded the point and shoot to the Sony HX20V and HX50V models, and after the SLR was stolen in Peru and the point and shoots broke, I jumped on the mirrorless bandwagon with the Sony a6000 which is what I would consider to be a mid-range model. (I not so secretly hope to upgrade to the Sony a7iii or its next-gen counterpart moving forward).
Toss on a few underwater cameras that are all generally lackluster but survive being 30 feet under water, a 360 degree camera, and other random novelties along the way, and you have my gear pack from the past decade.
My lenses for the Sony a6000 include the 20mm f/2.8 prime, the 16mm f/2.8 prime with the 12mm ultra wide angle adapter, a 24-240mm f/3.5-6.3 telephoto lens (focal lengths based on full frame sensors- a6000 has a 1.5x crop factor), as well as the kit lens rated for 16-50mm f/4.5 which I have no use for anymore.
As you can tell from the previous photos, I primarily shoot landscapes, food, and other indoor/outdoor scenery so my progression to wide angle lenses is somewhat of an obvious one. I attribute some of my best photos to these, and the glass in the prime lenses are a striking improvement over the kit lens which has several limitations around focusing on a subject and overall image sharpness. (If you’re trying to decide between the two, check out my Sony a6000 lens review at the previous link.)
From there, the rest of my photography kit is fairly simple. I have a basic tripod, a ton of 64 gb memory cards, an overpowered laptop, and edit my photos on Lightroom (and only very rarely Photoshop). I’ve got a few portable hard drives at home that I’m horrible at remembering to use for photo back ups, and have all of our home computers set for cloud backup on Carbonite. The only real splurge I have beyond these fairly standard items is my Black Rapid camera strap which is a luxury you never knew you wanted.
Overall, to shoot with the same equipment I currently use you’ll be looking at about $1,000 for the camera and one prime lens, and about $1,500 for the camera and both prime lenses. Toss on another couple hundred dollars for the camera strap, tripod, some memory cards, and an external hard drive or Carbonite plan and you can get a monster camera kit for under $2,000.
When it comes to taking decent photos of your travels and the general price hike of cameras as you move into more professional models, this is still a deal as the next jump is over $2,000 on the camera body or a single lens alone!
Have an existing blog that is in need of an upgrade? Check out the following services we personally use!
- BigScoots - Premium managed hosting with plans as low as $35/month.
- GeneratePress - A customizable theme designed for site speed.
- AdInserter Pro - A widget logic plugin that is quite powerful.
- WP Rocket - An image and caching optimization plug-in.
- Mailerlite - Cost effective newsletter service.
- Keysearch - Keyword research tool for SEO.
- Pretty Links Pro - A great link cloaking tool to clean up affiliate links.
About Jeremy
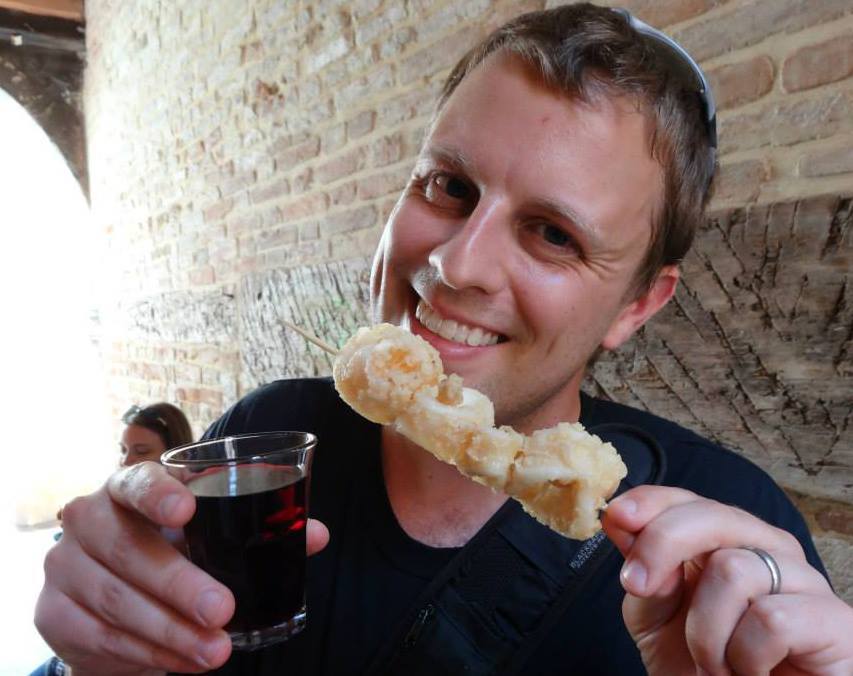
About the Author: Jeremy is a full-time travel writer based in Pittsburgh and primary author of this site. He has been to 70+ countries on five continents and seeks out new food, adventure activities, and off-the-beaten-path experiences wherever he travels.
