Published by Jeremy. Last Updated on March 9, 2023.
Disclaimers: Our site uses demographic data, email opt-ins, display advertising, and affiliate links. Please check out our Terms and Conditions for more information. Listed prices and attraction details may have changed since our visit and initial publication.
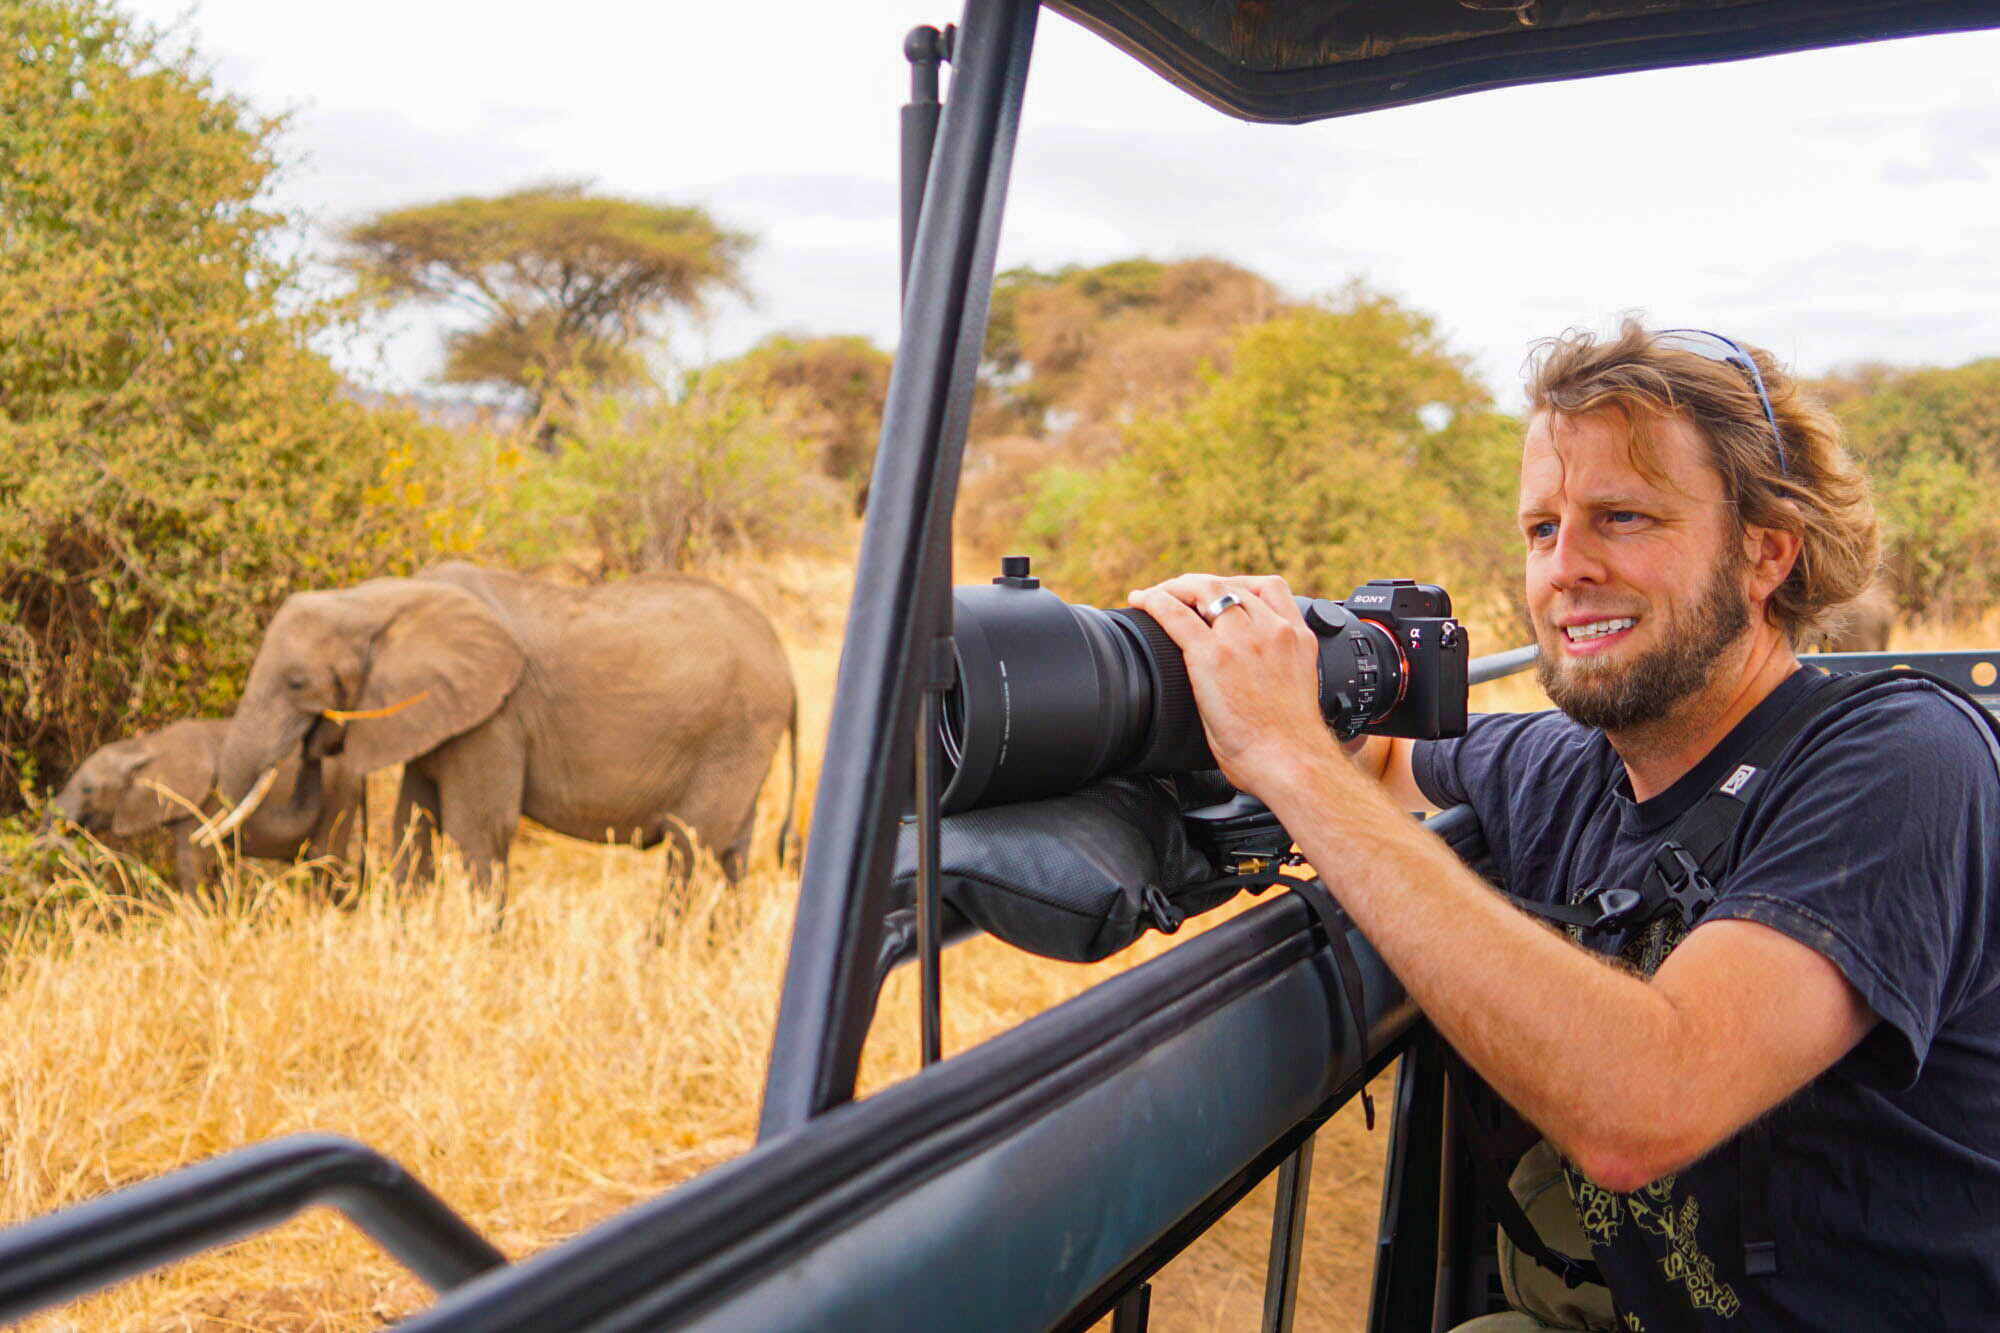
Before heading out on safari in Tanzania, I upgraded my camera gear to include a new telephoto lens (150-600mm) to get the best animal photos possible. As I quickly realized after a few days of testing, when wielding a big lens like this, stability becomes a problem as any minor camera movement can result in huge swings of what you see on screen- especially at the 600mm focal length.
As such, when shooting on lenses like these, you’ll often see photographers using a tripod- not to stabilize the camera, but to stabilize the lens first and foremost. So, naturally, I immediately upgraded my tripod as my former one was not rated for the ~10-pound weight of my new setup.
I thought I was ready to go to Africa, but then I talked to travel photography friends like Green Global Travel and Finding the Universe.
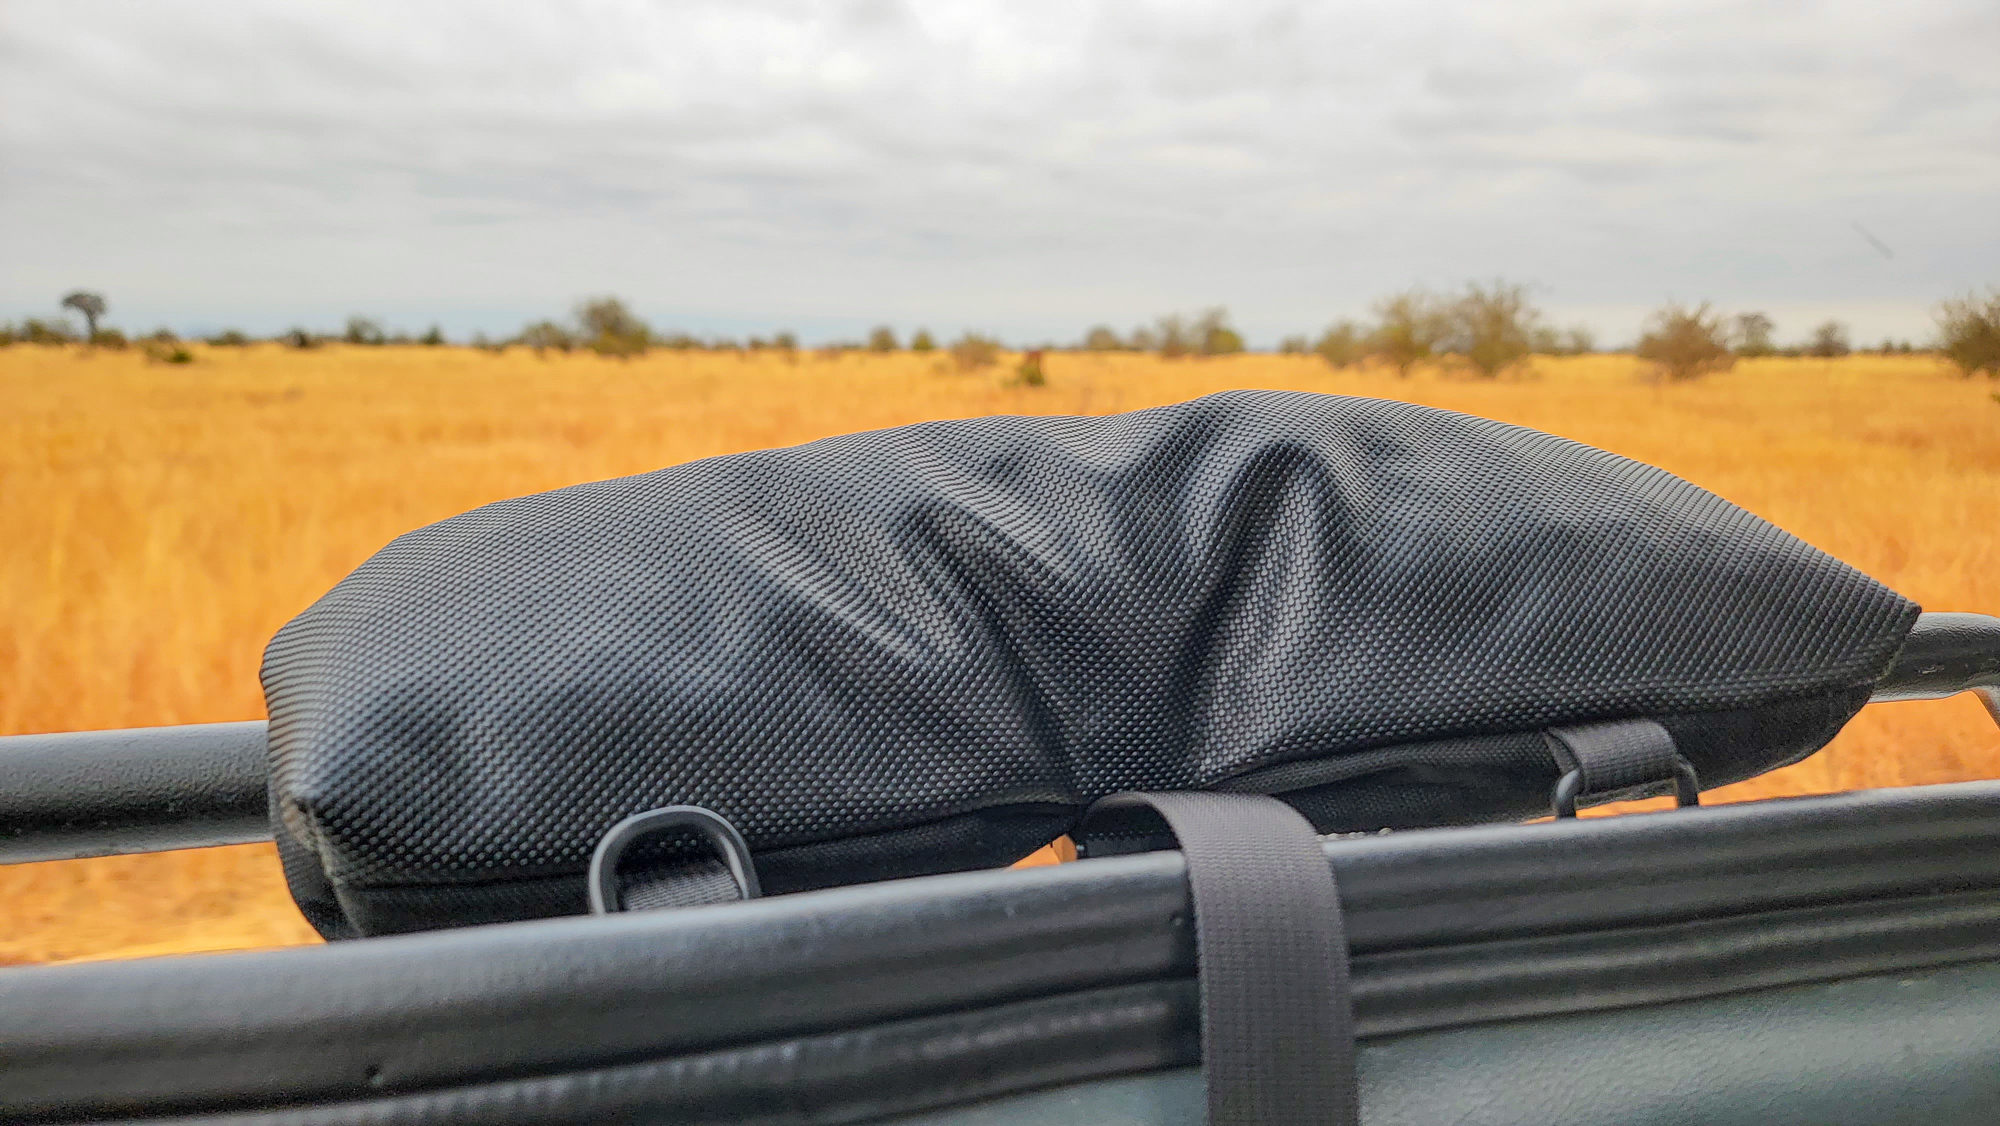
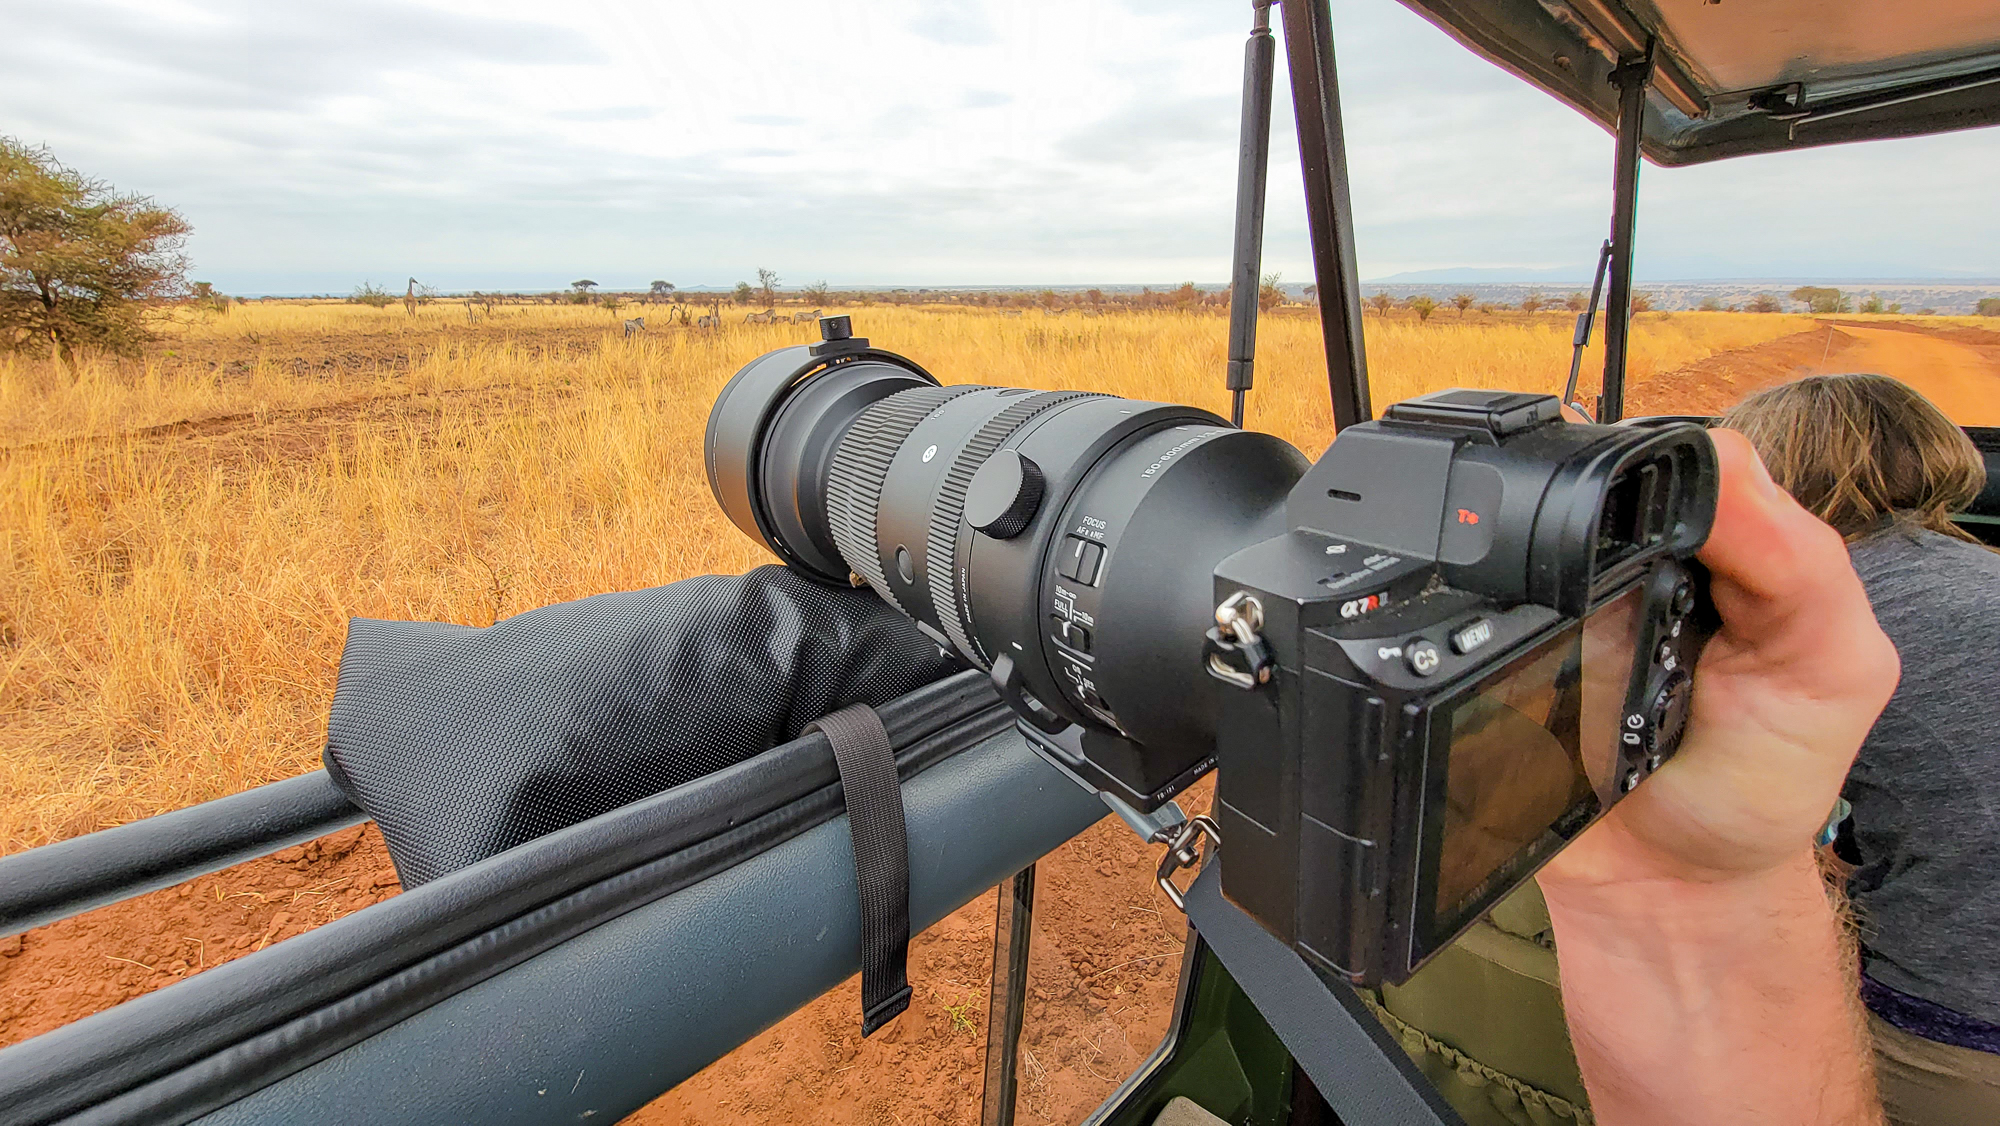
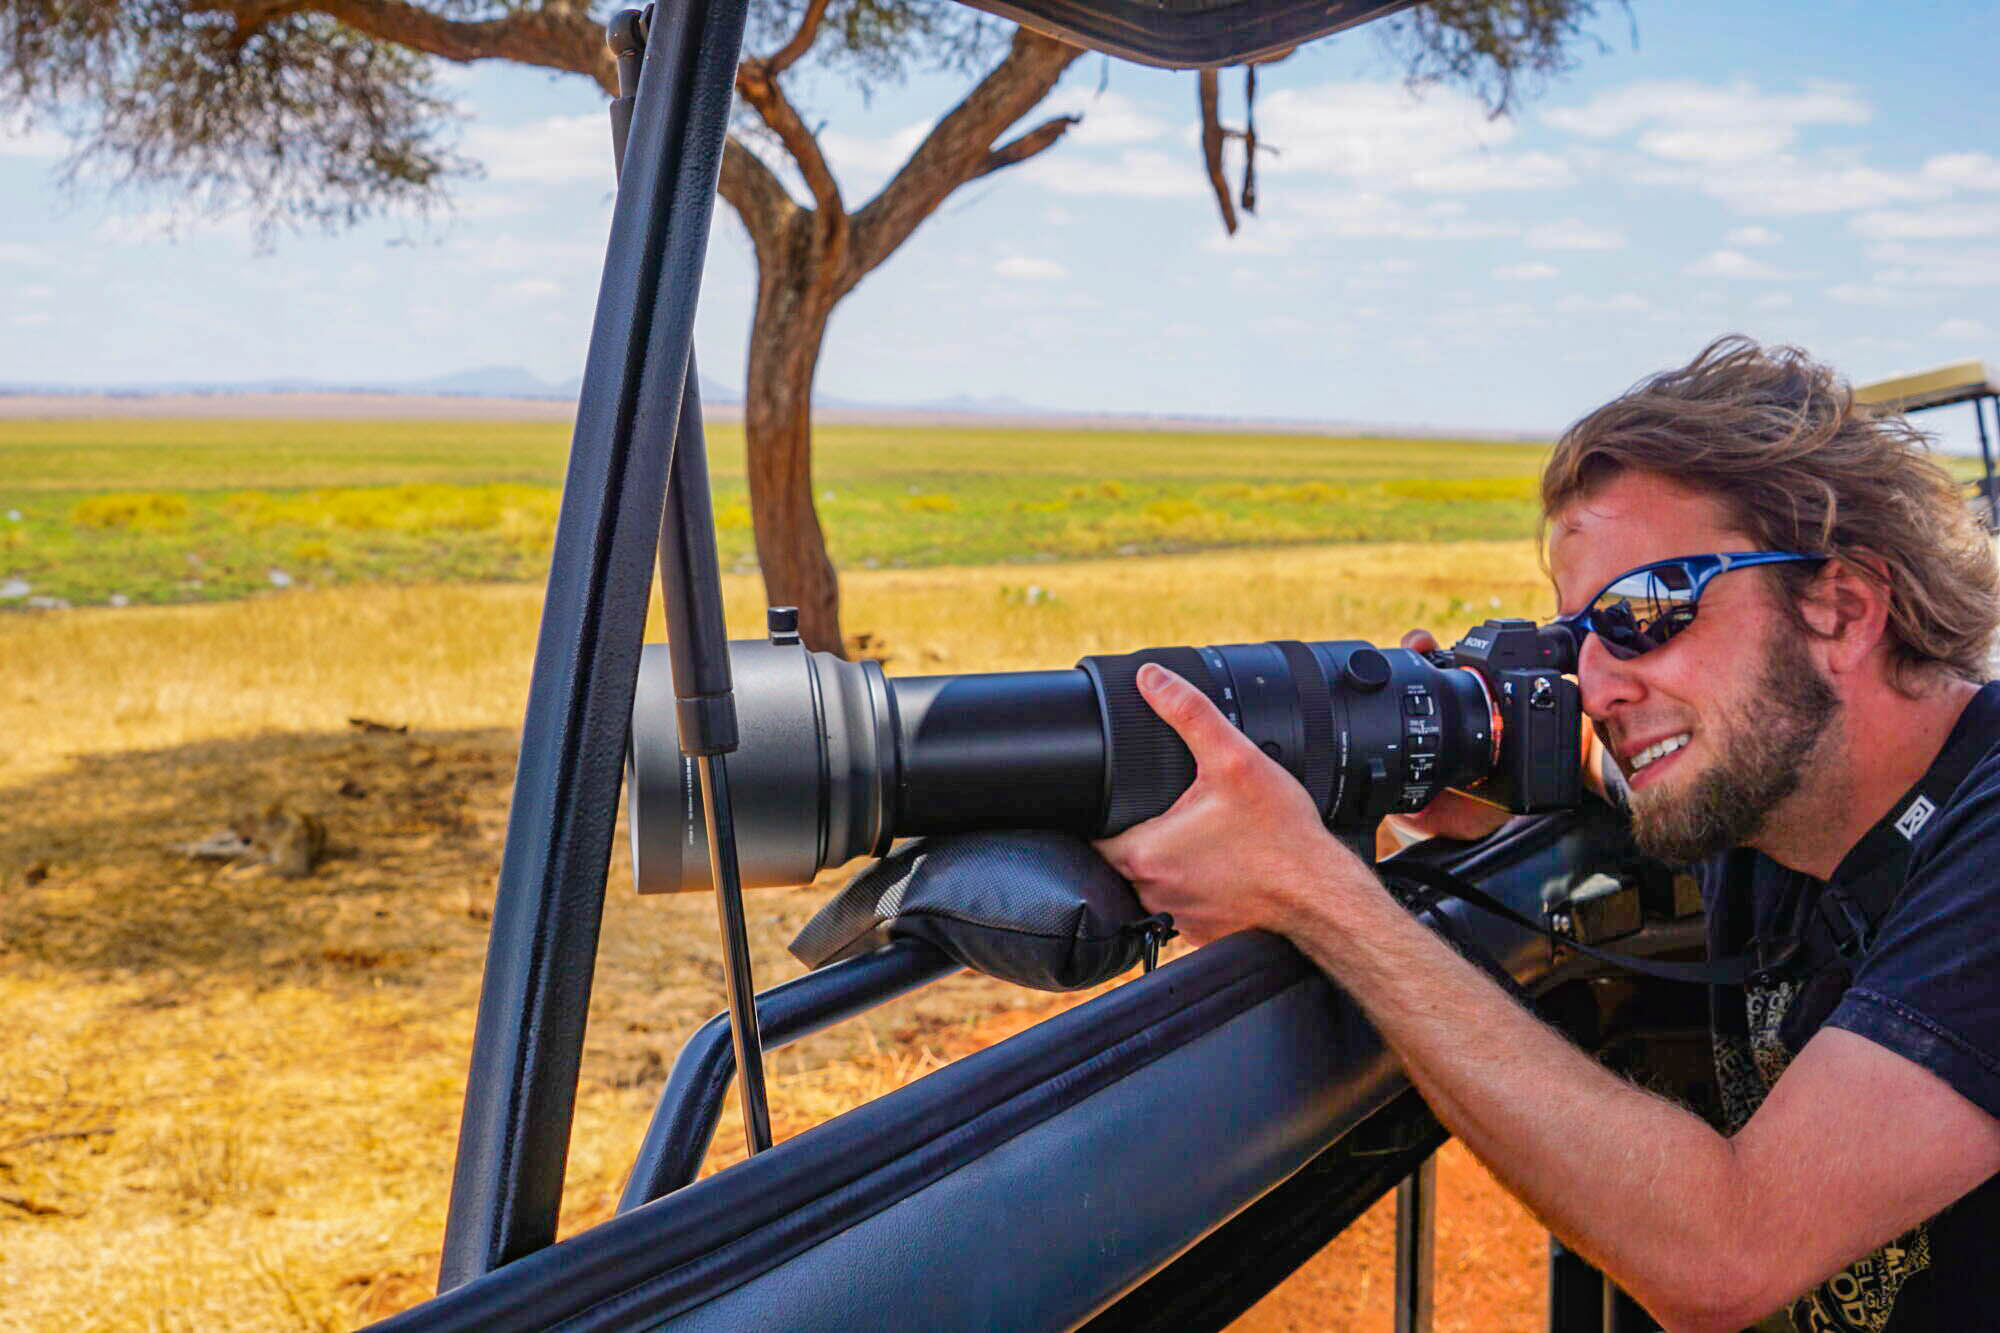
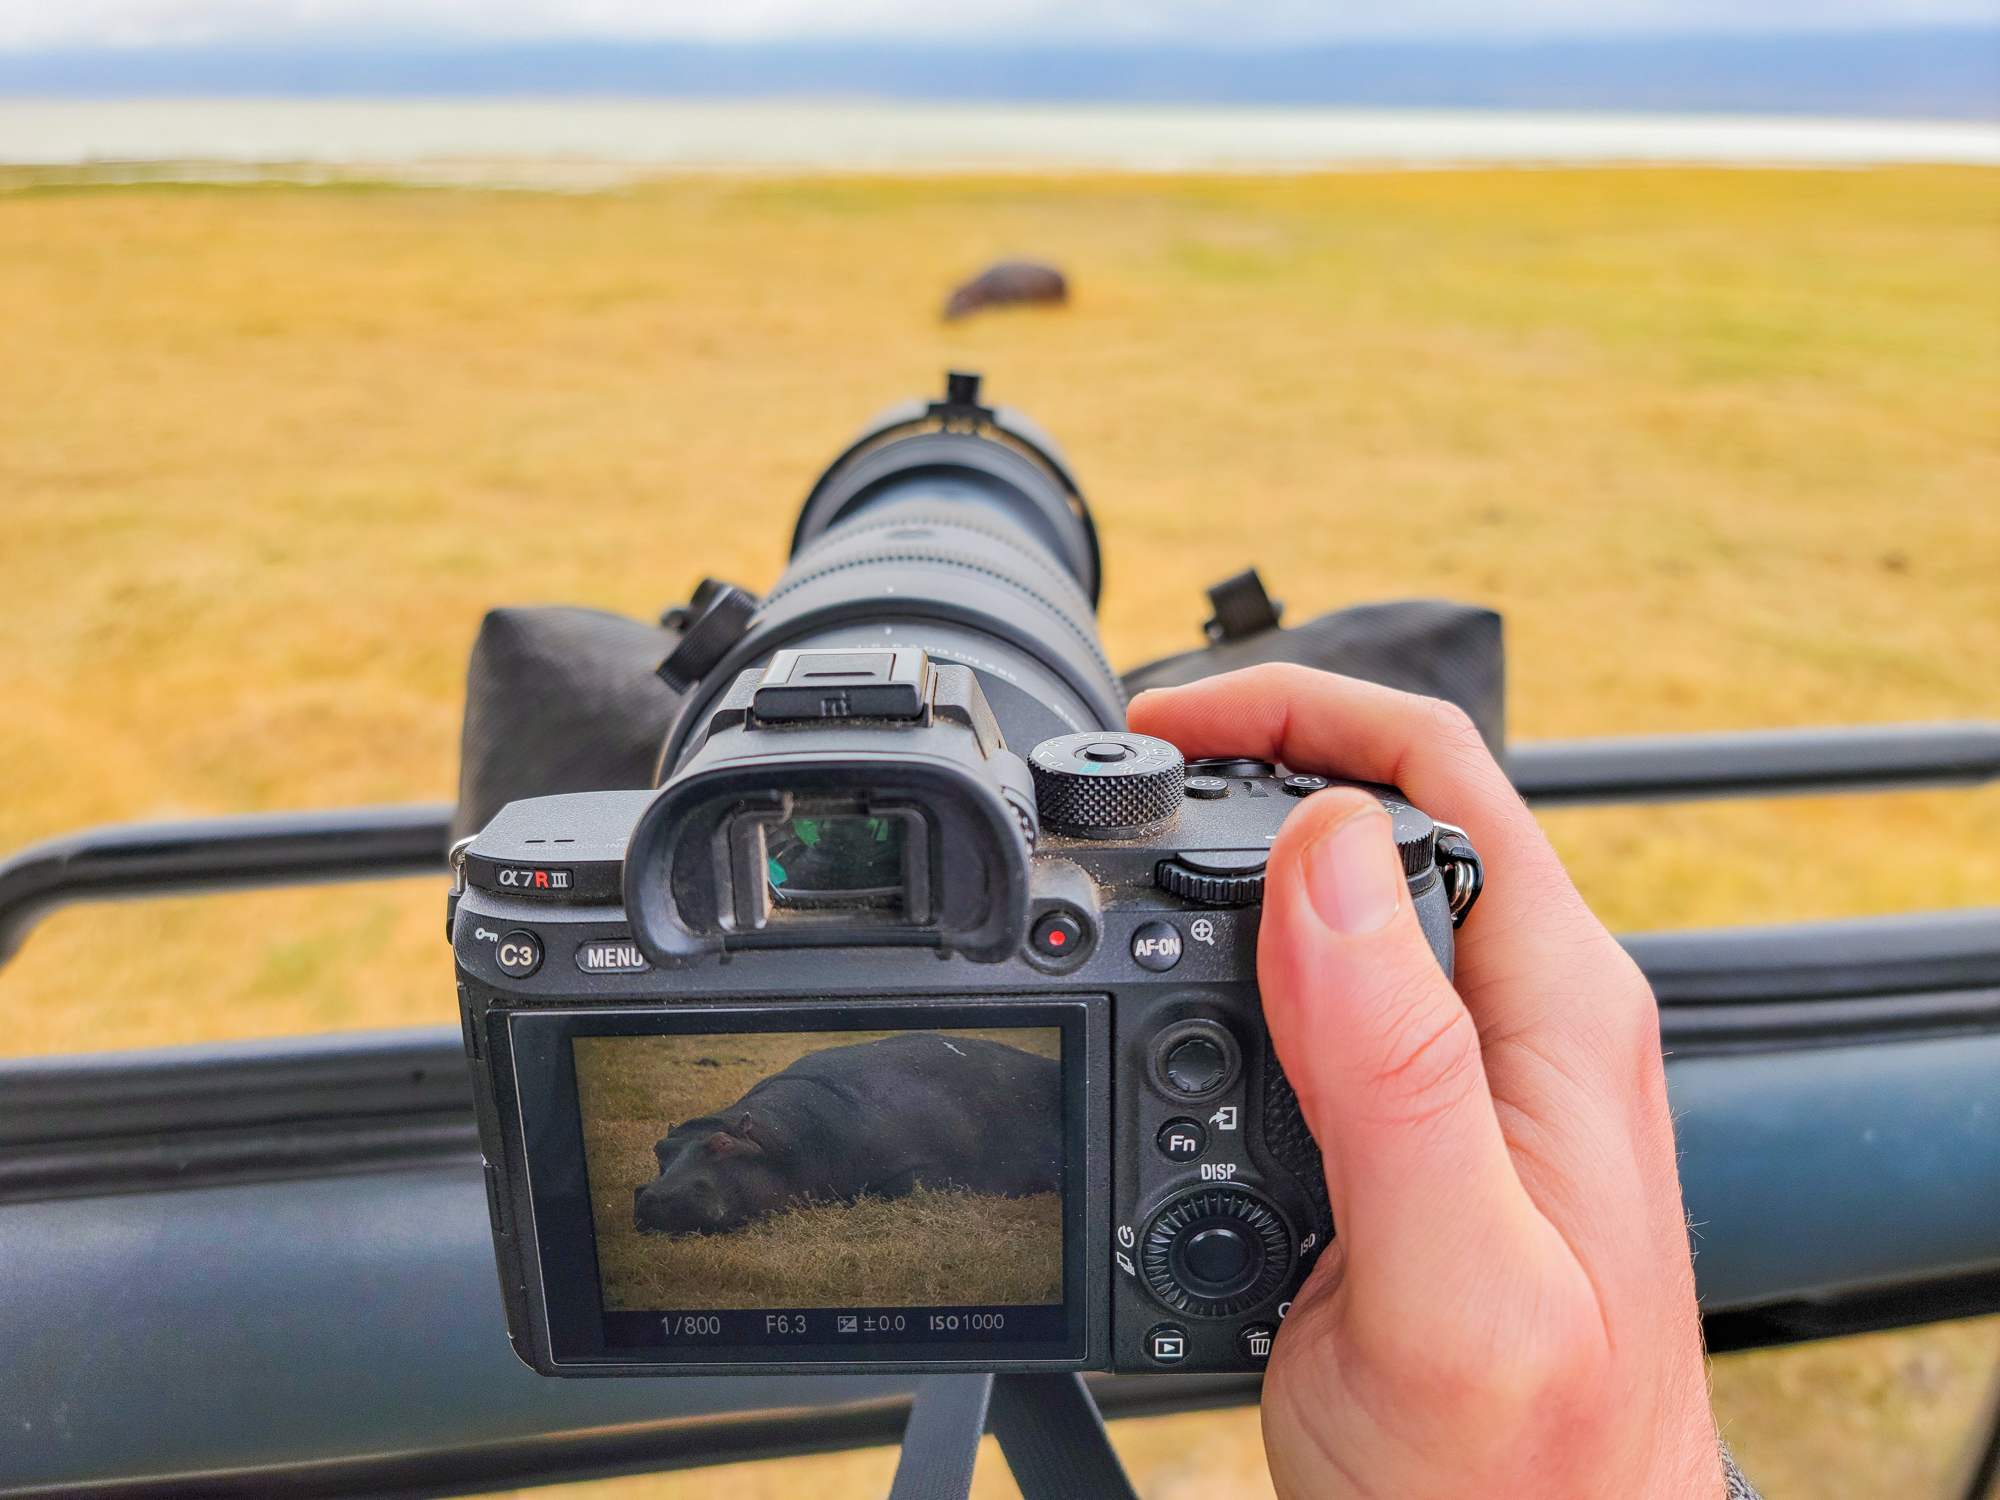
In these discussions, it was very strongly recommended not to bother taking a tripod to Africa but instead take a camera bean bag. These simple devices latch onto any surface that a strap can wrap around, such as a metal frame at the top of a safari vehicle. Your camera lens can rest on the bag, providing stability, while not being fully locked down to allow for quick movement as needed.
After buying one, and taking both it and my tripod to Africa, I can safely say that I never used my tripod once (except for one instance where I used the monopod detachment). As such, I thought it would be good to share why a bean bag was such an important purchase for this trip!
✈️ Book Your Next Trip
- • Planning a trip? Find a flight deal.
- • In need of a room? Check out hotel and apartment prices.
- • Taking a cruise? Find a cruise itinerary for your journey.
- • Don't overlook picking up a rental car or day tours as well!
Camera Bean Bags Are More Flexible Than Tripods
Camera bean bags are a lot like what you would expect from the name- bags, filled with beans or other bean-like material, that can be strapped down to a surface like a metal railing. While some companies can go crazy with the design, particularly with built-in contours for your camera lens, most just tend to be form-fitting bags outright.
The reason these work on safari better than a tripod is simply because to get a good photo, sometimes you have to act fast.
Animals, as we all know, are often not stationary. They could be on the move slowly, or they could be on the move quickly. Even sleeping lions may pop their heads up and look right at you for only a fraction of a second. Or your vehicle may be on the go on a fast pursuit of a hunt. Therein lies the problem(s).
In a somewhat cramped space, to capture these with your camera on a tripod you would have set the tripod up, adjust the horizontal angle, adjust the vertical angle, lock it all down, and then start working on your camera settings to capture the scene. Ignoring that there is barely any room for the three legs of a tripod to be stable in a safari vehicle outright (I can’t fathom a tripod working at all, to be honest), adjusting all these settings via a tripod would take so much time that you may lose most quick scenes outright.
A bean bag, on the other hand, simply has to be strapped down to a surface, and the added stability allows you to gracefully move your camera as needed. Want to pan up? The bag will adjust its contour as you move the camera. Want to pan horizontally? The same applies. You are ready to take a photo as fast as it takes to rest the lens on the bean bag- no other setting changes necessary.
The only real downside is picking the side of your vehicle to latch the bean bag onto outright (if you travel with only one bag). I always had my bag attached to one side of our vehicle as a default and then would survey vehicles we were approaching to see what direction passengers were looking at to decide if I wanted to switch sides. In many cases, I had the bag set up and ready to go well before we could even spot any animals with this method- insofar as our driver parked at the same angle as everyone else at least.
Still, swapping a bean bag from one side of the car to the other is a much easier experience than dealing with a tripod, and allowed me to get some truly epic wildlife shots with ease!
- Note: Even with a bean bag I always had my camera strap attached and around my neck as a safety net when moving my camera. This worked out a bit easier with my Black Rapid strap over more conventional options.
A Monopod May Be a Compromise for Some
Ultimately, while I took my tripod with me just in case (primarily for astrophotography that never quite panned out due to clouds), I did end up using my tripod’s detachable monopod on one occasion and think it could be an alternative for those who do not want to buy a bean bag.
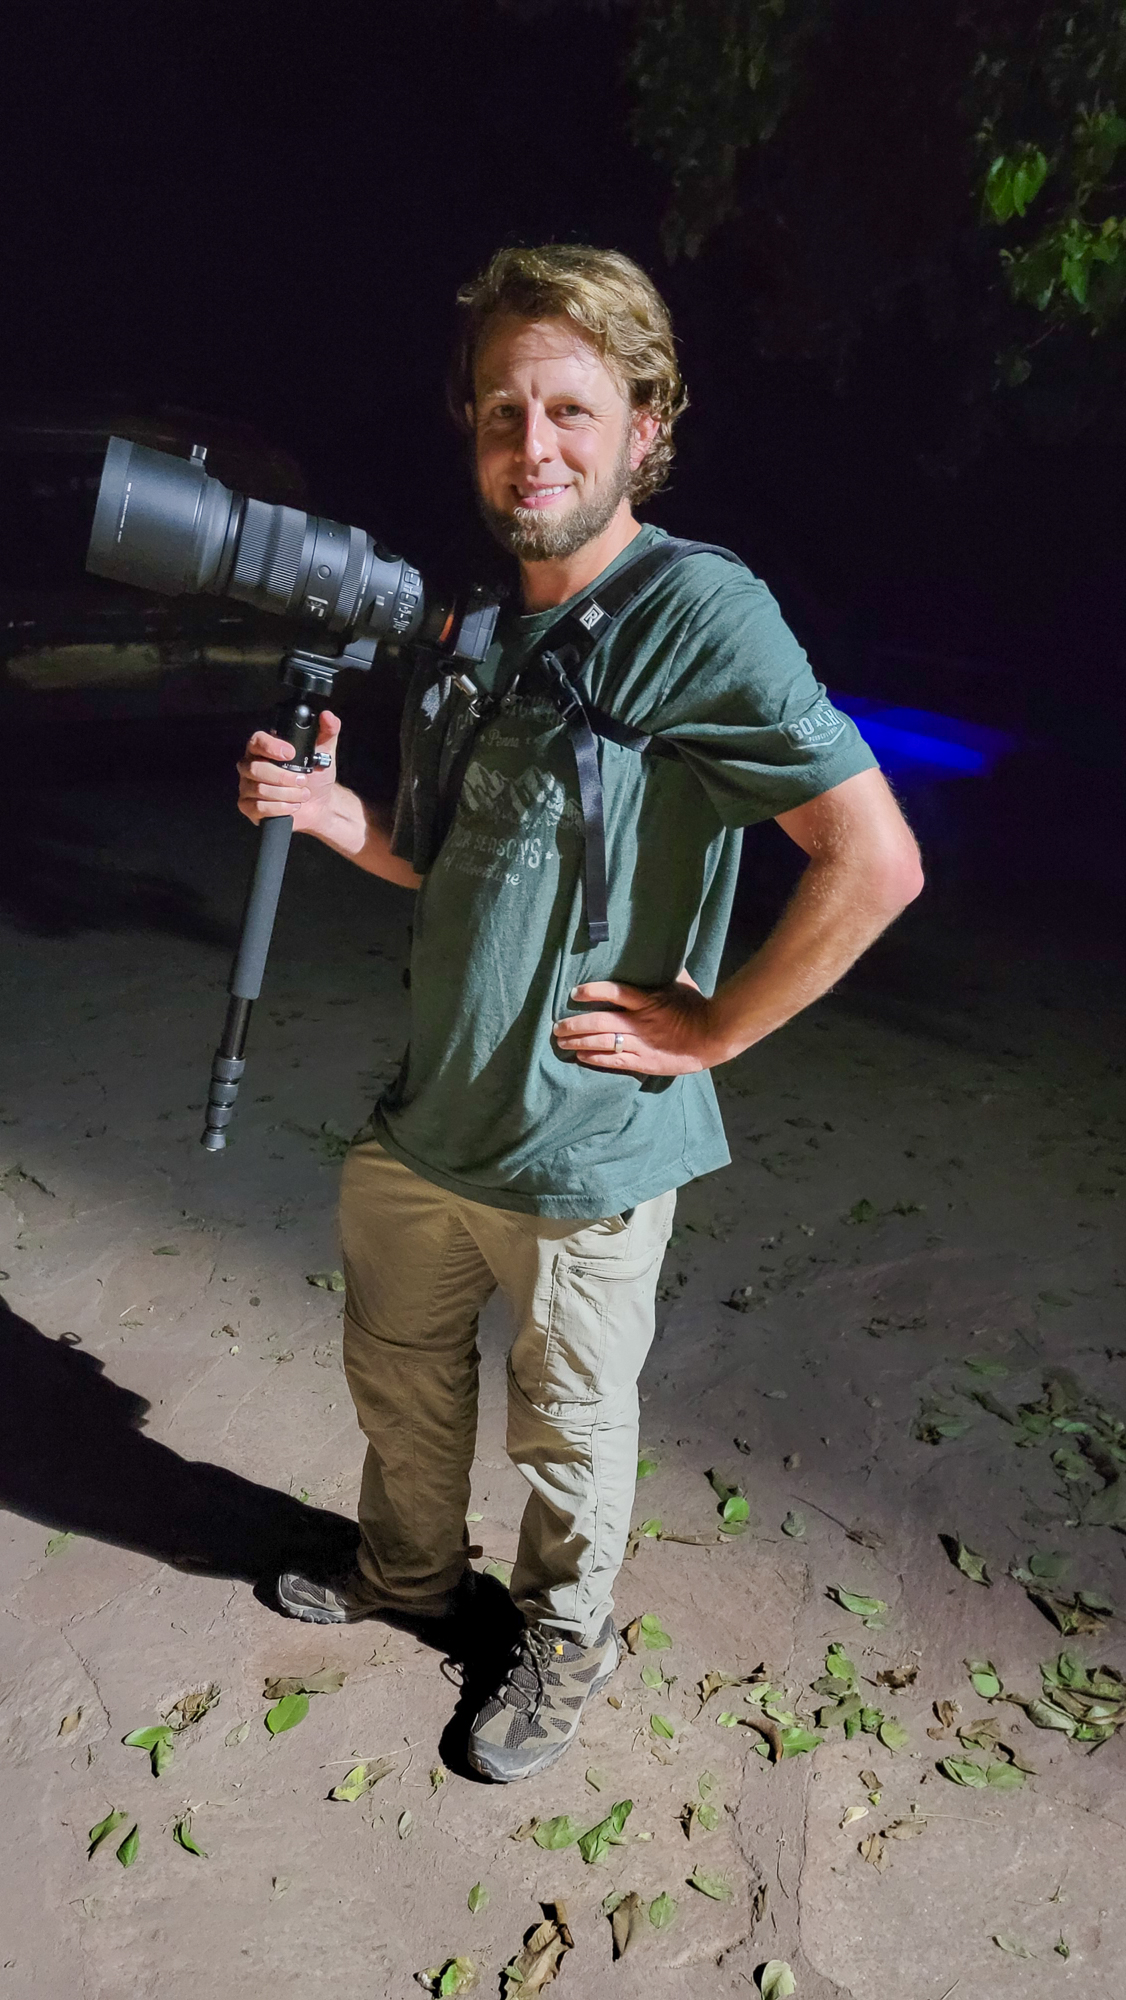
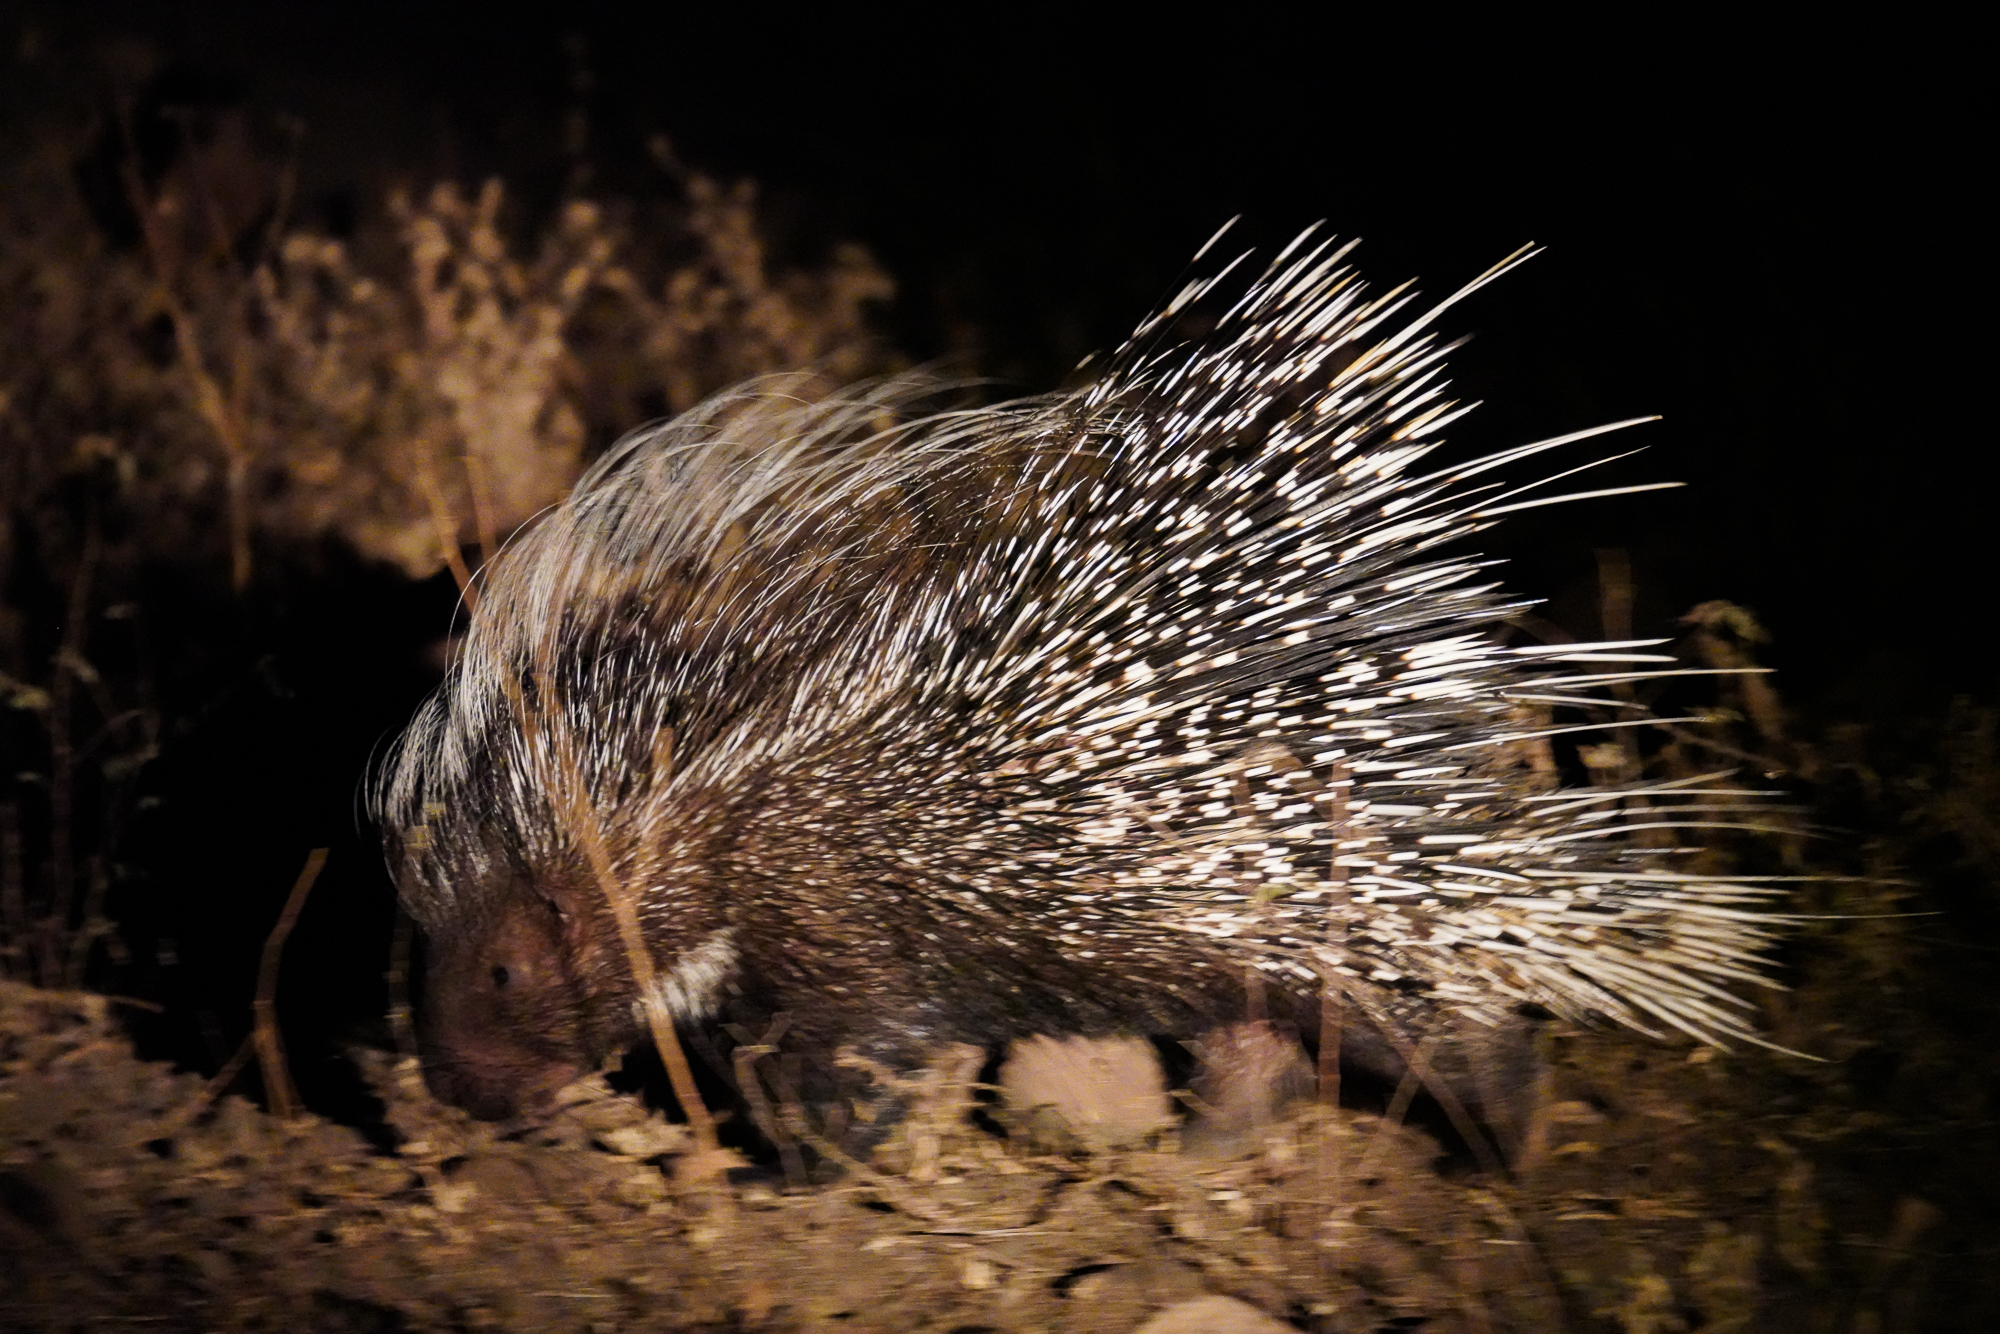
For me, the only instance that the monopod was even remotely more useful than a bean bag was on a night safari. This was because you have to be so fast in snapping a photo of an animal before it runs away that you wouldn’t even have time to move the bean bag at all. The amount of time from your spotter finding an animal to it running out of view can be seconds at best, and you will likely have no advanced warning in the form of other cars nearby to give you a heads up something is coming in the event you need to switch sides.
So, at best, a single bean bag would only work well here insofar as you had it on the correct side of the car by chance. As it were, I simply never used mine in this outing.
When using my monopod on the night safari, instead of adjusting horizontal and vertical settings on the tripod itself, I simply leaned it in the direction I needed. It wasn’t great, and only worked because our vehicle was fairly empty and I had an entire row of seats to myself. But even with that, I only got about five or six good photos from that setup. Short of having two bean bags and the entire row to myself, this was a suitable compromise.
For daytime shots, a monopod could solve the space issues for setting up as the three legs of a tripod likely won’t be able to spread out enough to provide that great of stability on the vehicle’s floor. That being said, monopods are also significantly less stable, so you could be introducing more movement into your lens over what a bean bag would provide, too.
I won’t go as far as saying that I recommend a monopod for a safari in the slightest, but I will say it may be better than nothing. I still go back to the bean bags as the best option 99% of the time- with a night safari outing maybe being the only caveat.
Tips for Using a Camera Bean Bag
Before ending this one, we would be remiss if we didn’t discuss a few more tips on buying and using a camera bean bag.
First, and perhaps most importantly, most bean bags you buy are delivered empty and without beans. Some producers will sell polystyrene beads that you can use to fill the bean bags and those who want to fill yours for cheaper may simply use dried beans or even old clothes like socks if only because the polystyrene beads marketed for this use are absurdly expensive.
I purchased the recommended polystyrene beads just to see how they work. While they were indeed quite functional for the bean bag, especially for allowing contour of the camera, it is worth noting that the polystyrene beads pick up a lot of static charge in their original packaging. So when you open them do not, under any circumstance, open the bag entirely. Simply cut open a small corner (~1-2″), and use that as a spout to pour the beads into your bag- otherwise, you may have a fairly big mess on your hands as they can fly all over the place. (Read some of the reviews on Amazon, trust me.)
If I were to do it over again, I would probably test the bag with old socks first and see if that would be good enough.
Second, I found that I liked to have my bag filled almost as stuffed as it could go. Originally I had thought a partial fill (~80%) would give more flexibility in locking onto surfaces on our safari vehicle. But in practice, I found I liked the bag almost full (~95%) as the beads do seem to get compressed a bit after repeated use. So in a pinch, I shoved a few more socks in the bag mid-safari to plump it back up. When in doubt, I’d fill closer to the full side assuming the one you buy has a long enough strap.
You may have to adjust this one after your first day or two on safari (or a solid test before you travel), as ensuring a good strap onto your vehicle will depend on several factors. You may want to plump yours up or make it less full based on your preference.
Finally, while these are somewhat easy to hook onto railings on a safari vehicle, it still takes time to move the bags (think seconds not minutes). You may not be able to move it to the opposite side of your vehicle in the event of, say, a lion running across the road. For those who are extremely into photography and have enough space in a private safari vehicle, having two could allow for a bean bag to be permanently attached to each side of your vehicle on daily outings, but even for me this would have been simply a slight convenience as opposed to being necessary. I could probably count on one hand the number of shots I missed because of having to change sides.
Overall, I am elated to have purchased a camera bean bag before heading out on safari. This simple tool worked wonders in helping me get some great photographs on my monster telephoto lens and ensured I never touched my tripod for the entire trip.
So while I would still likely always pack my tripod just in case, I really found I never used it at all- especially on game drives. Don’t leave home without a bean bag (or two)!
To pick up a camera bean bag before your next trip, click here.
About Jeremy
About the Author: Jeremy is a full-time travel writer based in Pittsburgh and primary author of this site. He has been to 70+ countries on five continents and seeks out new food, adventure activities, and off-the-beaten-path experiences wherever he travels.
Hi Jeremy,
When using a beanbag what do you set your image stabillisation to?
Wout
I generally turn off internal stabilization just like I would if I was shooting on a tripod. However, I do think it is best to test this at home first so you aren’t testing it in the middle of a safari with an animal nearby. I wouldn’t be surprised if some cameras behave differently with this combo.
Thanks Jeremy!!